Debian Trixie with the mate desktop still rocking harder than ubuntu.
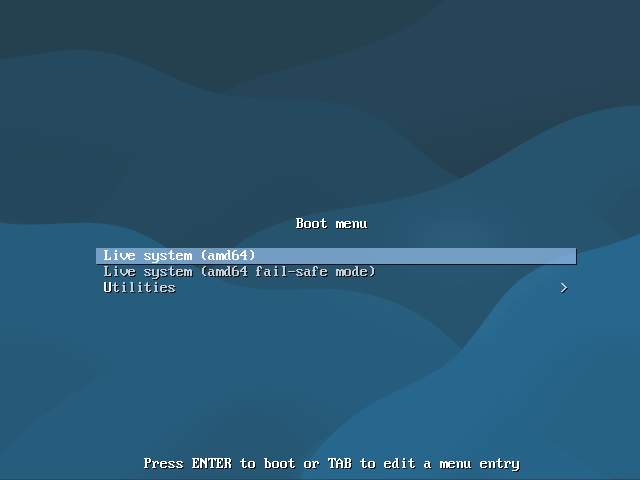
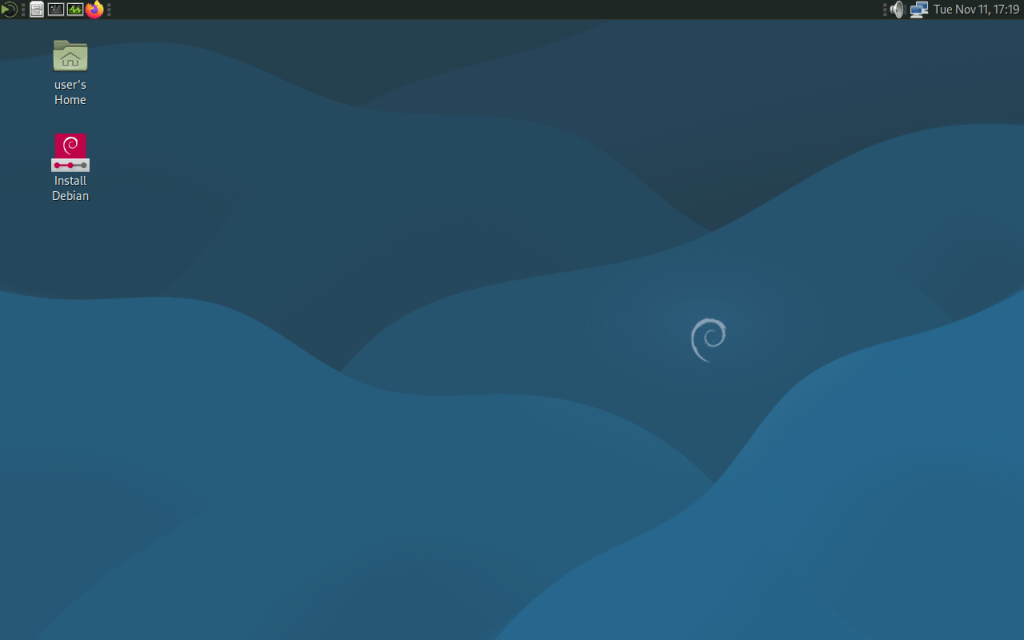
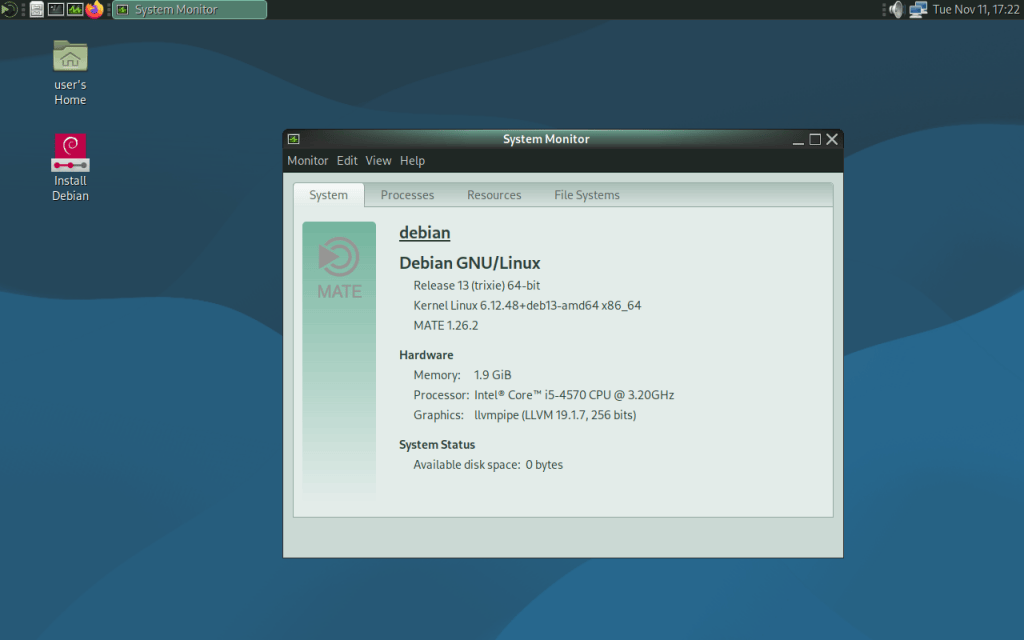
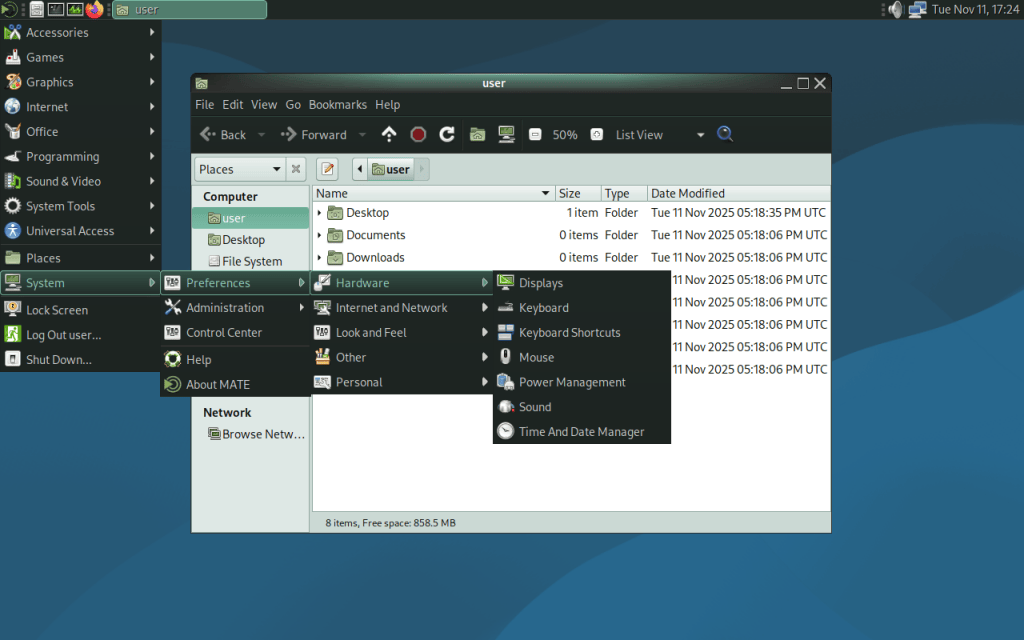
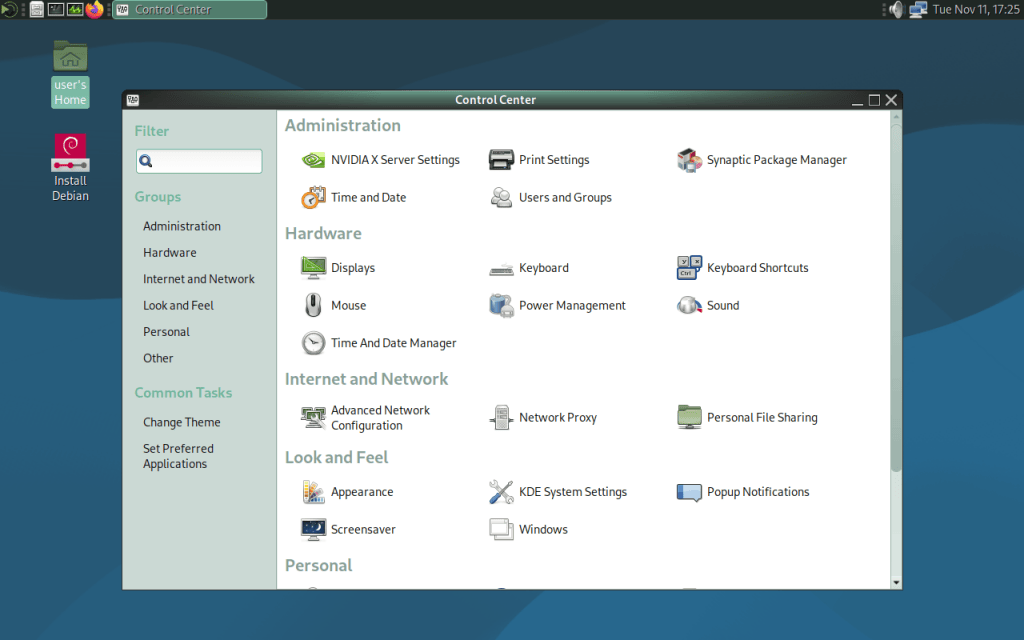
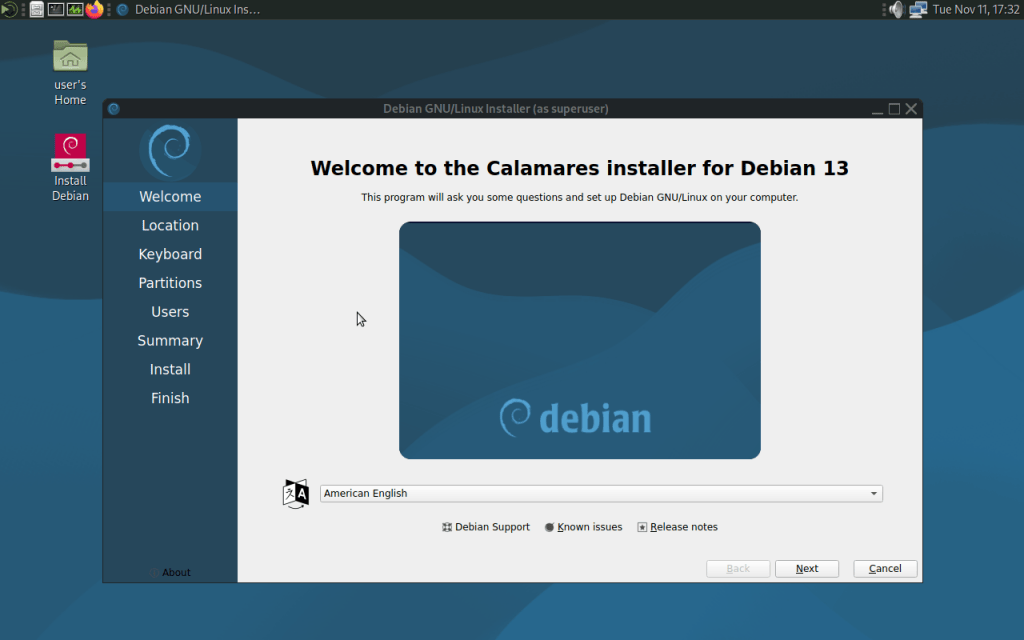
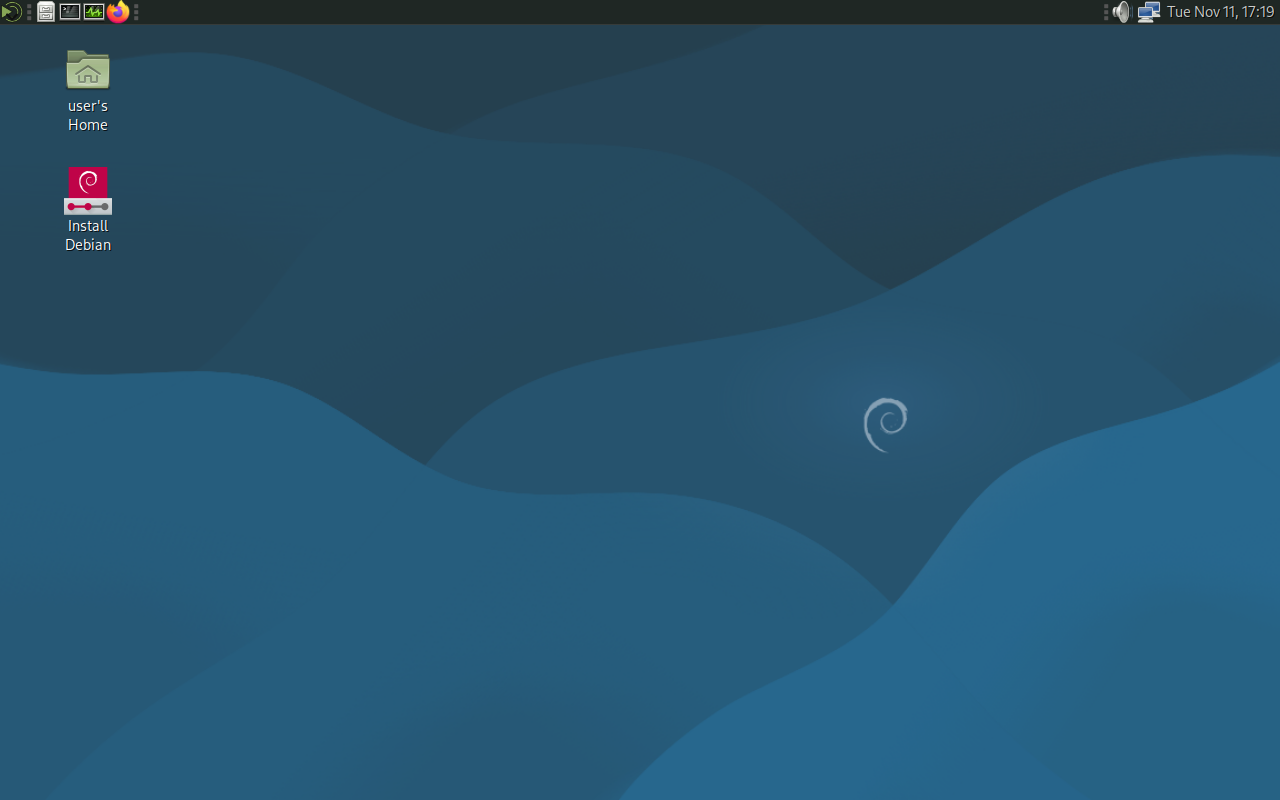
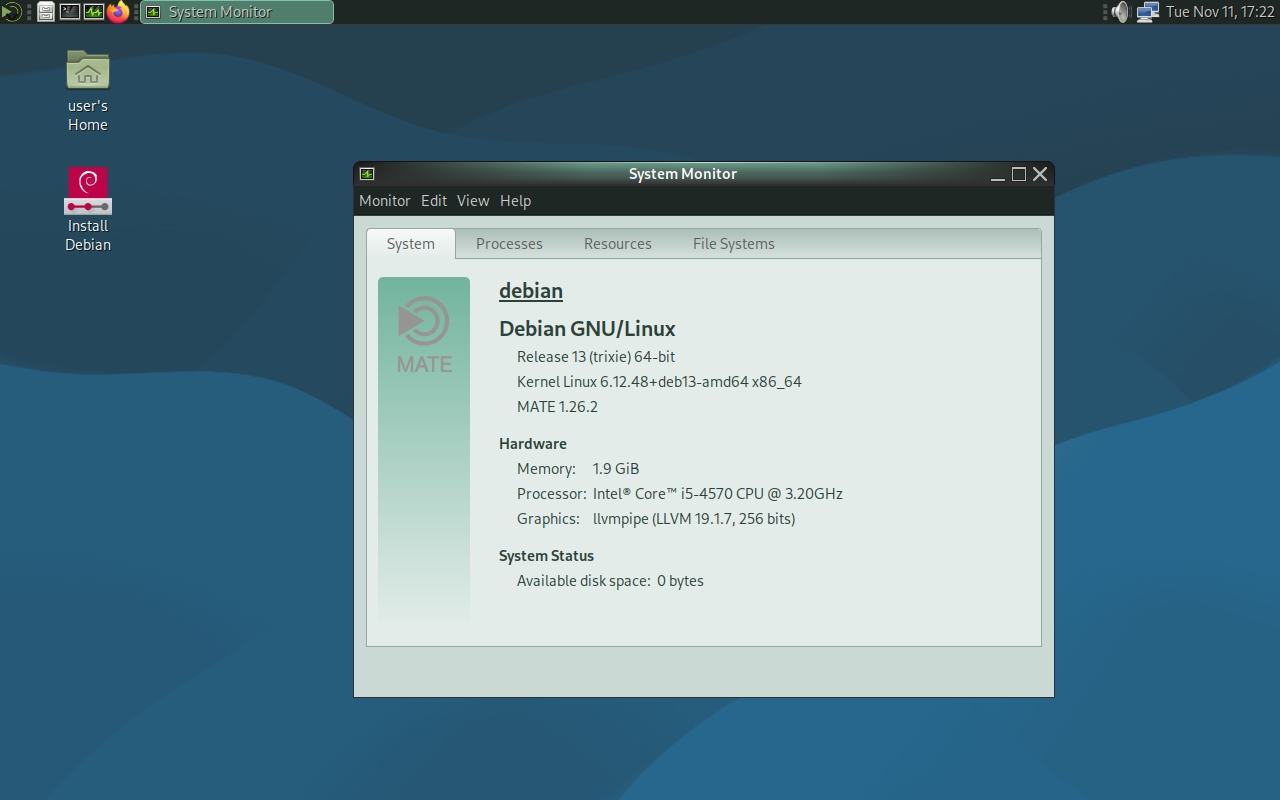
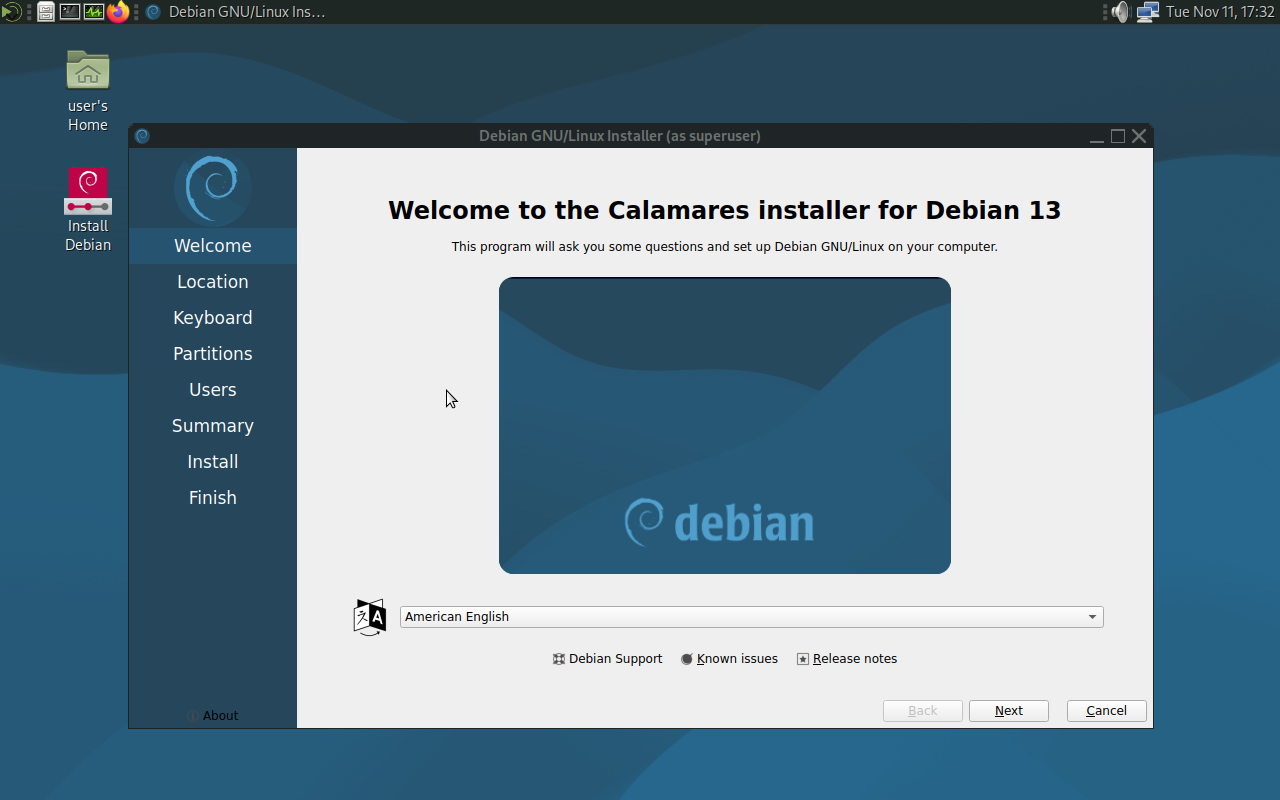
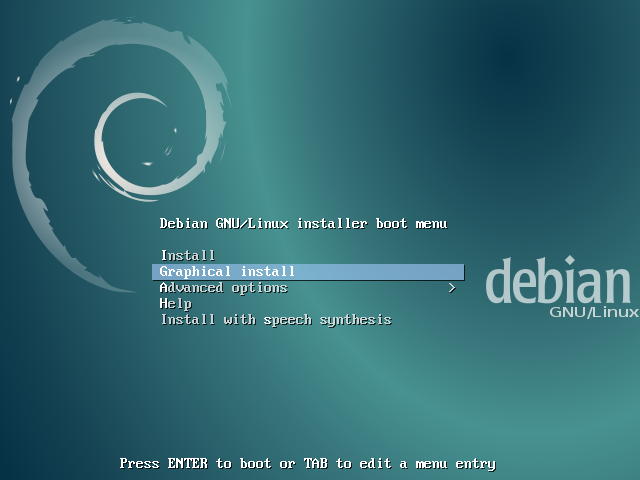
Live media boot menuMate desktopSystem monitorMenu and file managerControl centerInstaller
Another release? Yes another release. Contains bug fixes, runs slightly faster, and it’s debian 13 trixie under the hood.
============================================================================ 64BIT ONLY Debian dropped 32bit support with the release of debian 13 Trixie. Debian is now only 64bit.
LIVE SESSION Password for the live session is “live”.
CALAMARES INSTALLER The debian installer was deemed too problematic; I chose the calamares installer. If you want to install, boot the live session, and then run the installer found on the desktop.
POST INSTALLATION Because the new installer doesn’t let you set a root password. Use the “sudo” command for administration.
EFI SUPPORT EFI or known as UEFI support is present. If you want to install on an system with encrypted boot, download the images that have “efi” in the file name.
ENCRYPTION AND ANONYMITY I always include tor and openvpn, now also included is wireguard for extra vpn protocol support. One can easily connect to tor network for anonymity, and openvpn and wireguard vpn servers can be connected to; or make an openvpn or wireguard vpn server.
RELEASE AND PROJECT NAMING There’s too many old “debian mate” distributions on sourceforge that aren’t updated. I regularly update, and you can tell by looking at the name of the current version. This is still “debian mate” as how I intended.
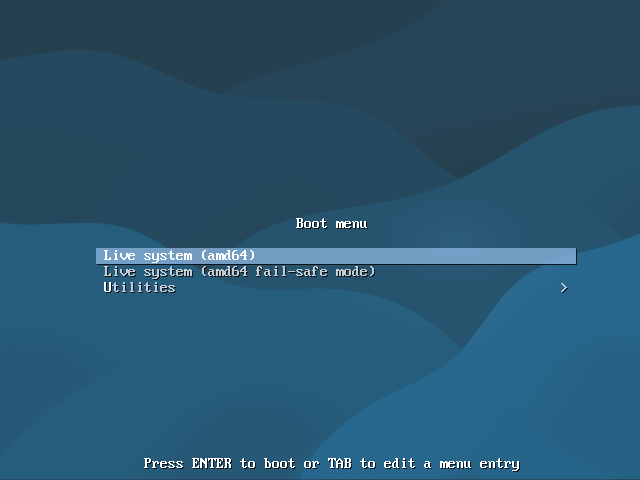
Booting the install image? No need to burn to cd if you have a flash drive, and even no need to install first to take a look around with the “live” option in the media boot menu.
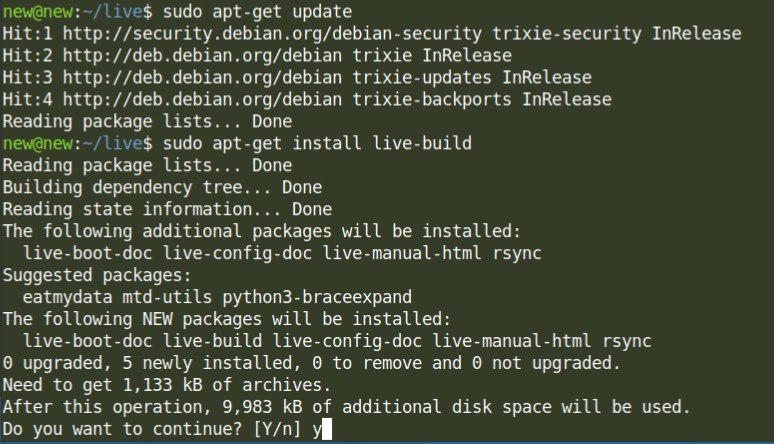
We will be working with a tool called “live-build”.
What is it? Live-build (formerly live-helper) is a command line tool that contains the components to build a live system from a configuration directory; it is a set of scripts to build debian live system images completely automated, and to customize all aspects of building a Live image. Live-build when installed has three commands it uses: lb clean to clean the chroot environment, lb config for specifying build options, and lb build to start the build.
A few notes before we get started: 1. Debian dropped support 32 bit support; you will only be making 64 bit images. 2. Highly recommended to use the calamares installer. The debian installer has regressive bugs that keep coming back every other debian release; the debian installer seems to only work well for netinstall images.
Getting started: Let’s get started in your favorite terminal emulator, and work from any directory you want. I’m using mate-terminal, and starting in the home directory of my user account;/home/new.
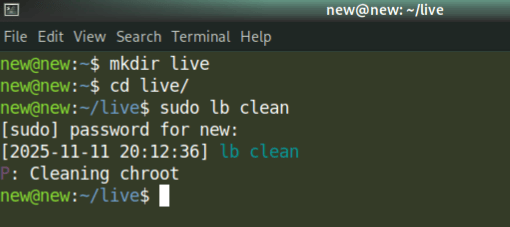
Using live-build. Now we make a folder for our live cd project to keep everything all nice and in one spot.
mkdir live
cd live
sudo lb clean
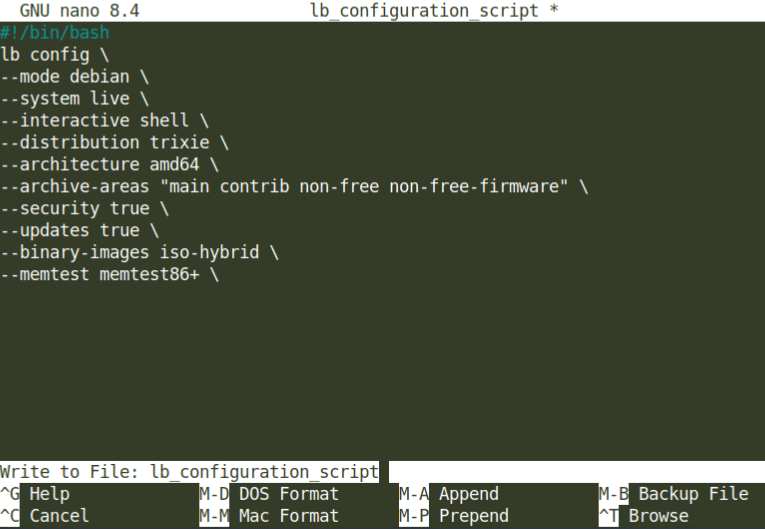
Now we make a script for lb config. Save this script with whatever name you want except “config”, or lb config will not be able to create/usr/lib/live/build/config/common (I named mine lb_configuration_script).
Special considerations: The odd configuration we have going on here is –interactive shell. As part of the build process, you’ll be dumped to a chroot environment to configure your new distribution. You’ll want this so you can install packages and make other configurations to the system before it gets squashed down to an iso image. This configuration works around a few bugs present in live-build mentioned a little further below.
Normally we would specify –debian-installer live, but the debian installer doesn’t work very well. If you need the debian installer, then include this configuration. Otherwise, it’s recommended to use the calamares installer to save yourself a lot of pain.
Through much troubleshooting of other lb config options found in it’s manual, I have discovered that other options such as –checksums and –grub-splash don’t work. Mentioned above, this is why we’re using –interactive shell to work around some of the options that don’t work.
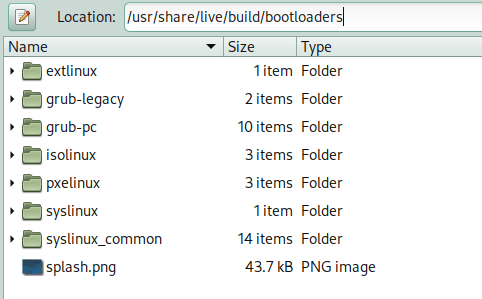
To work around –grub-splash: 1. Have an image you want to use as a splash screen for the bootloader. It must be in 640×480 resolution, and named splash.png 2. Go to /usr/share/live/build/bootloaders, on the system your building the iso (not inside the live-build chroot build environment). 3. Delete splash.svg and replace with splash.png 4. Add splash.png to syslinux_common folder. 5. Add splash.png to grub-pc folder. 6. Convert splash.png to splash.xpm. Then compress it with gzip so you have splash.xpm.gz, and replace the file of the same name in the grub-legacy folder.
That’s how you set you’re own splash image for the bootloader of the images you’re making.
To work around –checksums: To create checksum files, use md5sum to generate an md5 checksum after you’ve created your images.
Launching configuration script: lb_configuration_script needs to become executable.
chmod 700 lb_configuration_script ls
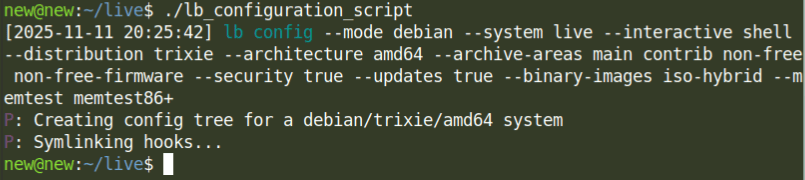
Then we execute.
./lb_configuration_script
Let’s build:
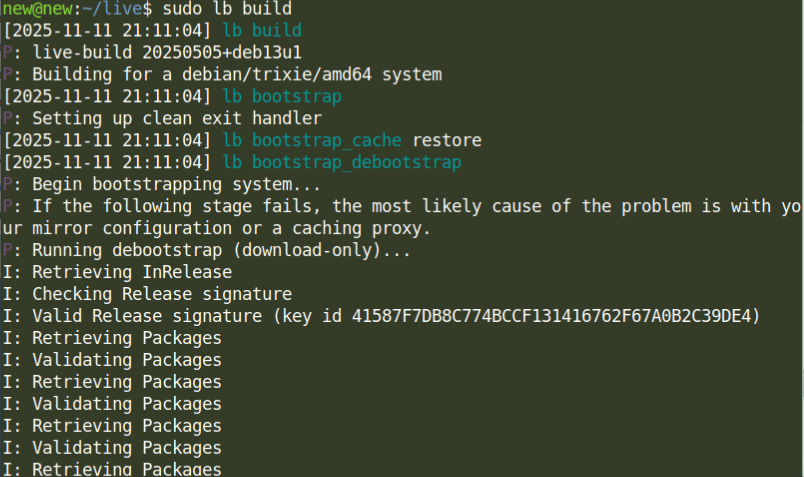
sudo lb build
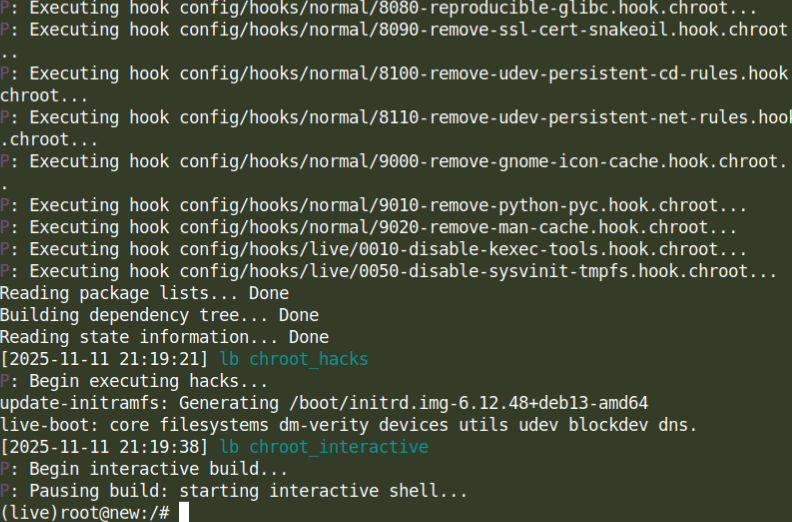
Don’t forget that we specified --interactive shell in the script we executed. Entering lb build will start the build process downloading whatever it needs and putting things together, eventually dumping you to a chroot environment for more configuration. Here’s what that looks like.
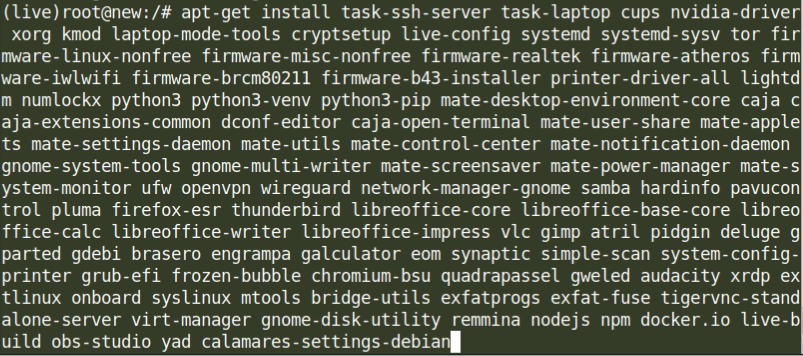
Install packages: We’re going to install packages now. I am just going to use the package list from my distribution for this.
Special consideration: There are two packages for bootloaders in the debian repositories, grub-pc and grub-efi; you can’t install both. 1.If you want to prepare an image with efi support, install the grub-efi package. The install command above features this package, I’m making an efi bootable image. 2. If you want a classic boot image, install the grub-pc package.
It’s not worth finding out if –bootloader option for lb config even works.
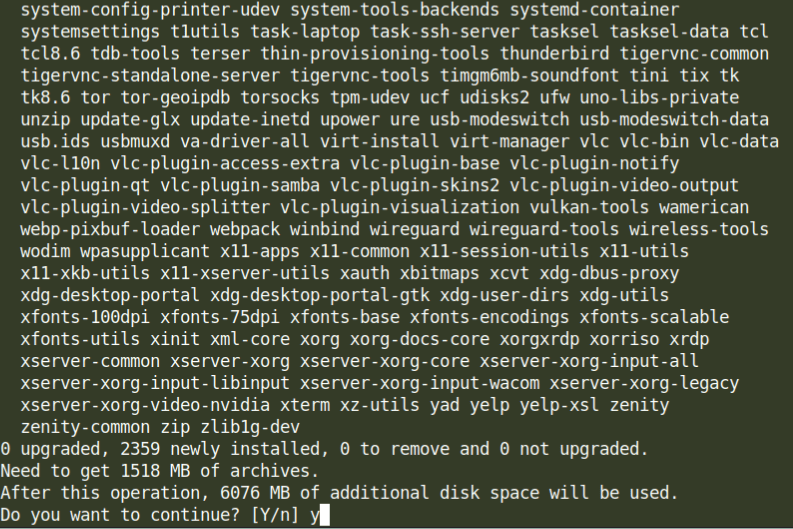
Yes we want to install these packages.
Other configurations: Once all packages you wanted are installed, we can finish the build right here. But, you probably don’t want to just yet. I recommend five things.
First is inside /etc/Network-manager/Network-manager.conf and changing the managed=false to true. Then network-manager can manage the network interfaces.
The second is highly recommend configuring the default user parameters of the build. What I do for this is create a new user on my system, and just configure as desired; screensaver, power settings, program specifications, theme, etc. Then I harvest the contents of the new user home directory (hidden folders and all; please no personal documents) and copy them all into /live/chroot/etc/skel. The way that you see your desktop, has now been specified in the build for every future user.
The third is configuring the firewall. I’m using ufw (uncomplicated firewall). I run three commands to configure it. 1. ufw default allow outgoing 2. ufw default disable incoming 3. ufw enable
The fourth is installing packages that are not found inside the debian repositories should you need to do so. As hinted upon earlier; we can copy documents to the chroot environment. Once these extra packages are installed, please get rid of the package files as they will show up inside the file structure of your finished product.
The fifth is you can keep configuring other things if you need; such as rebranding (I don’t care about that here, so I am not focusing on that). However, if you are happy with the way things are, then continue on to the next step.
Finish build:
exit
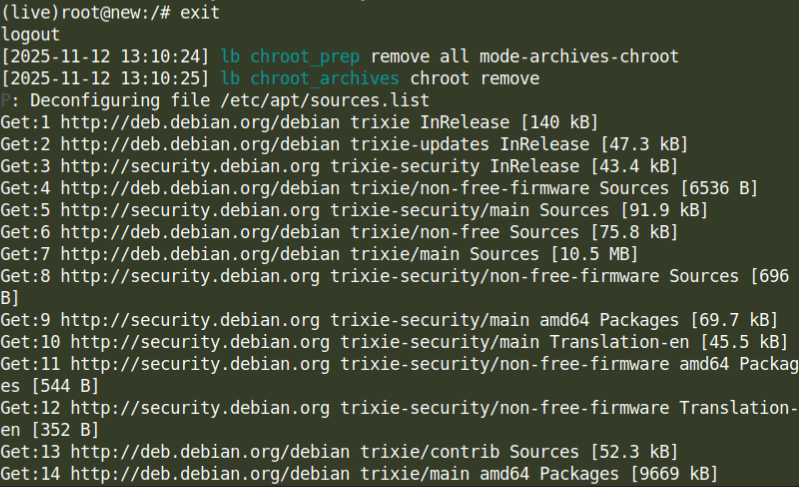
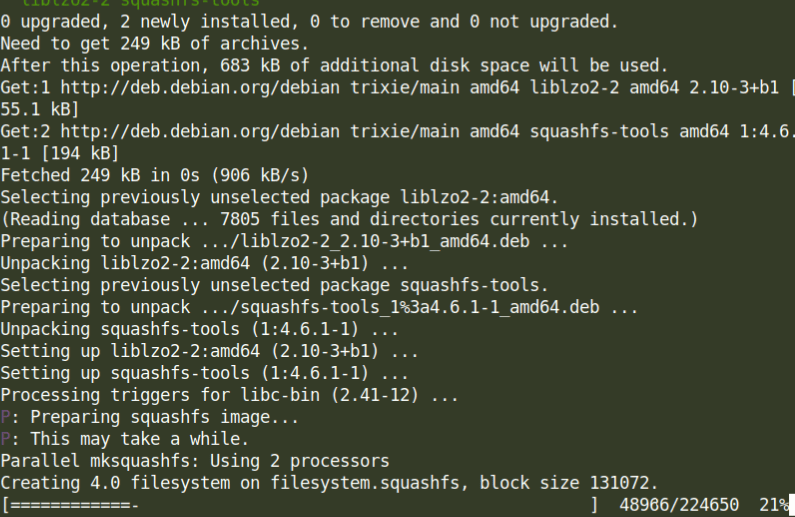
With this, you will exit the chroot environment and lb build will finish it’s job by downloading whatever extra it needs and eventually squashing your build into an iso image file.
Squashing the build can take 30 minutes to an hour.
Take a look:
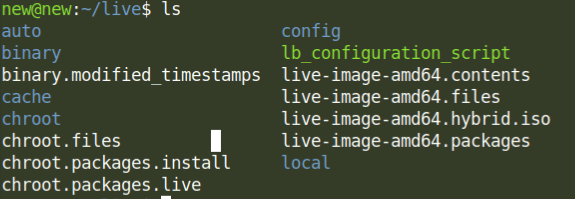
ls
When lb build has officially finished, here is the result.
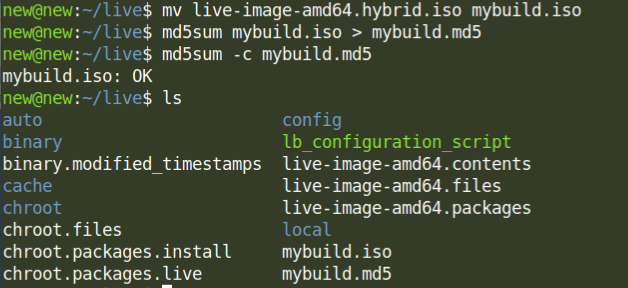
Name your iso, create md5 checksum file, and double check md5 checksum:
We have renamed the iso image file, created an md5 checksum file, and have compared the md5 checksum against the iso image (which it passed).
Testing the build Burn to dvd, make a bootable flash drive, or test it out in a virtual machine. I used virtual machine manager to create environments to build and test in.
It works! If your custom build works, then good on you! You have created your own customized live cd that can be installed offline. I recommend to keep messing around with live-build with extra focus on the chroot build environment.
Conclusion: Building images takes lots of work and dedication. Lots of testing needs to be done after an iso was built. Double checking if the installer works, if any program in the distro has bugs, if mouse and keyboard work as advertised, etc. The nature of building images is one must consider that there’s new bugs and other changes introduced each time a new version of debian gets released. You will be able to make installable images, but will they install a linux without problems? Test your images, test the software that goes into them, and then release a distribution.
Why not build up an operating system from the command line up the Debian way?
For this tutorial we’ll be installing the stable branch of debian to be a desktop operating system. Benefits of this are, less bugs to work around (stability is great), and you can switch to testing or the unstable branch later (if you so wish).
Special considerations: Pay attention to i386 and amd64 download links. If your processor only handles 32 bit processing, download the i386 version of the netinstall iso. If your processor does 64 bit processing, then you’re free to install the i386 or the amd64 version. If you have no special need for a 32 bit operating system with a 64 bit capable processor, then always install the 64 bit version.
2.1 Burn the iso to cd.
Burning software suggestions if you don’t have a program yet…Windows users seem to enjoy imgburn or infrarecorder. If burning from linux, try k3b or brasero.
I only see burning to a cd for safe keeping, or someone has a computer too old to have a feature for booting from usb.
2.2 Make a bootable usb drive.
If windows or linux, I recommend unetbootin. Unetbootin is very easy to use. Format usb drive as fat32, start unetbootin, select your iso file, select usb device, hit ok and wait for it to finish. Or if in linux, you could just use “dd” (data description) in command line.
3. Booting.
If booting from usb or cd, then you’ll want to take a look at your boot order. Hopefully your computer has a button you can hit at boot to select a boot device (dell is f12, hp is f9, acer is also f12, mac is holding down the option key).
4. Installing.
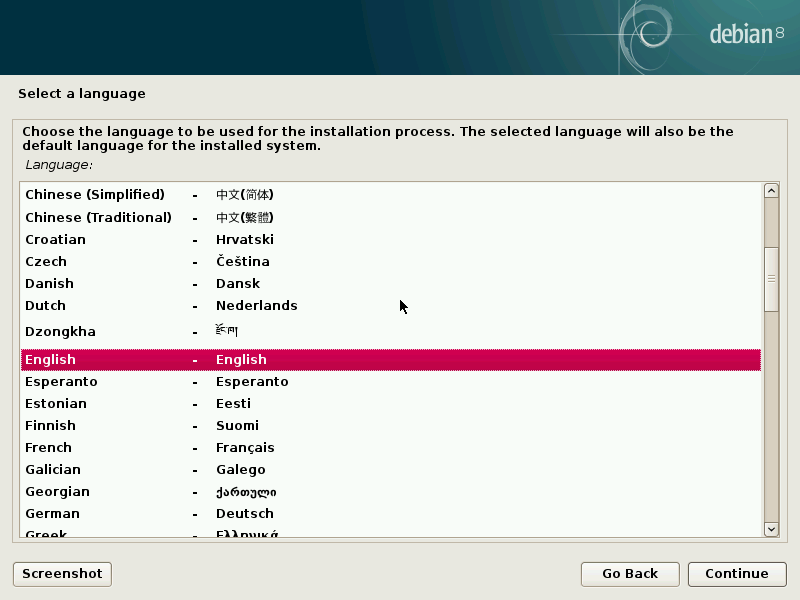
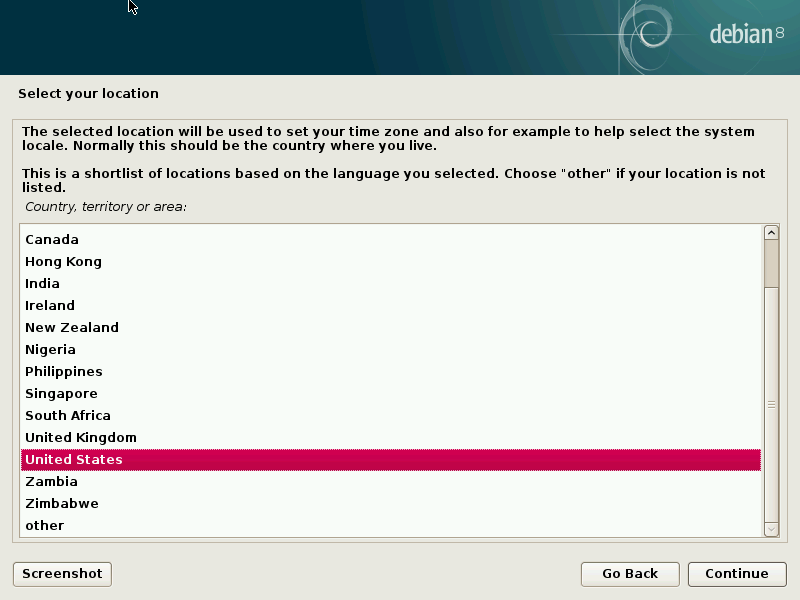
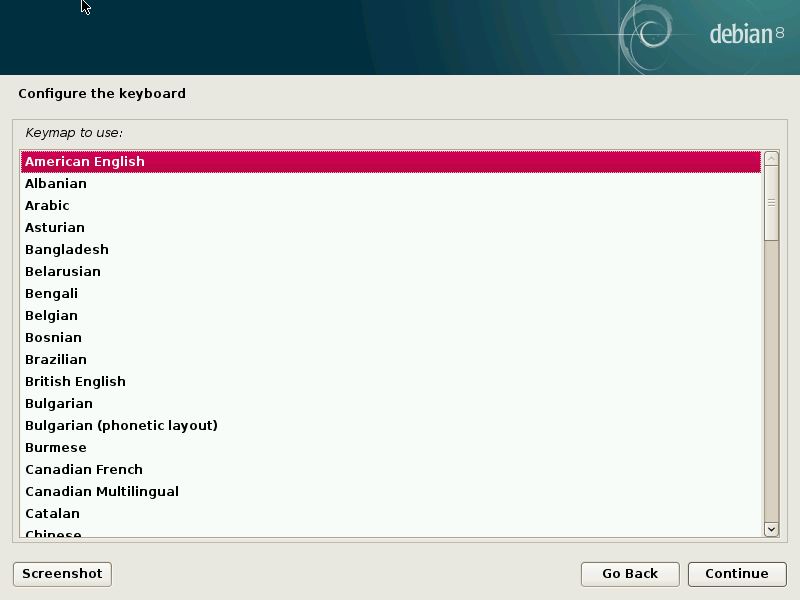
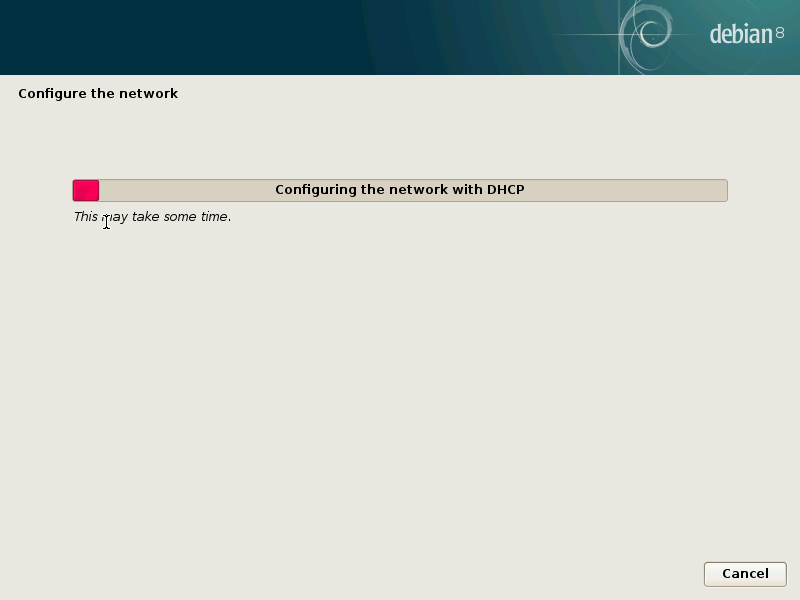
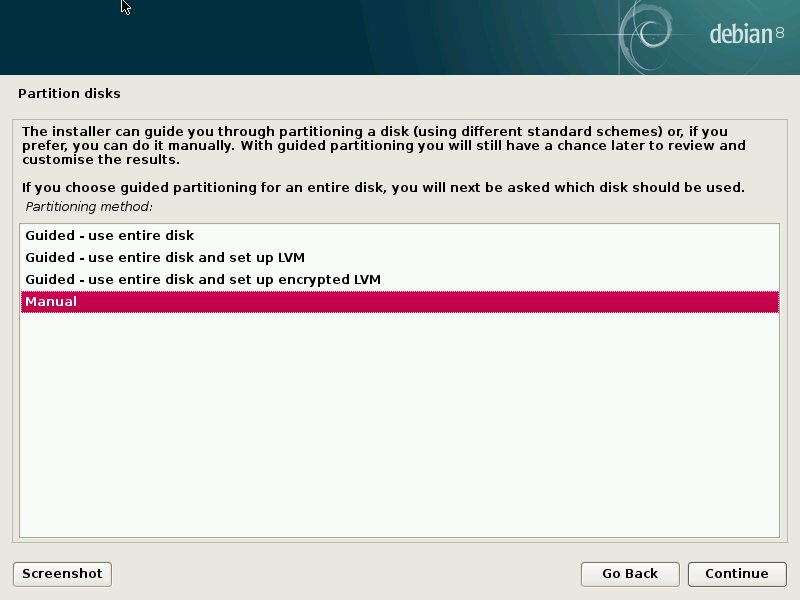
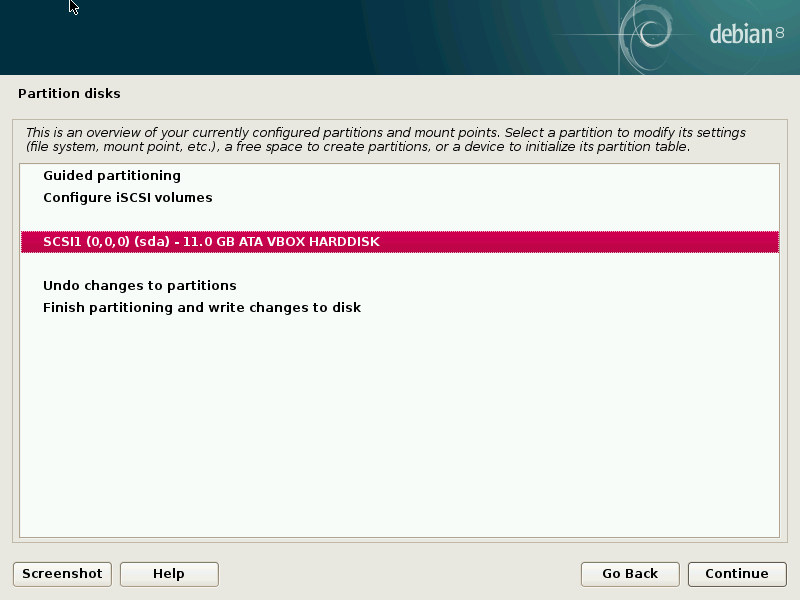
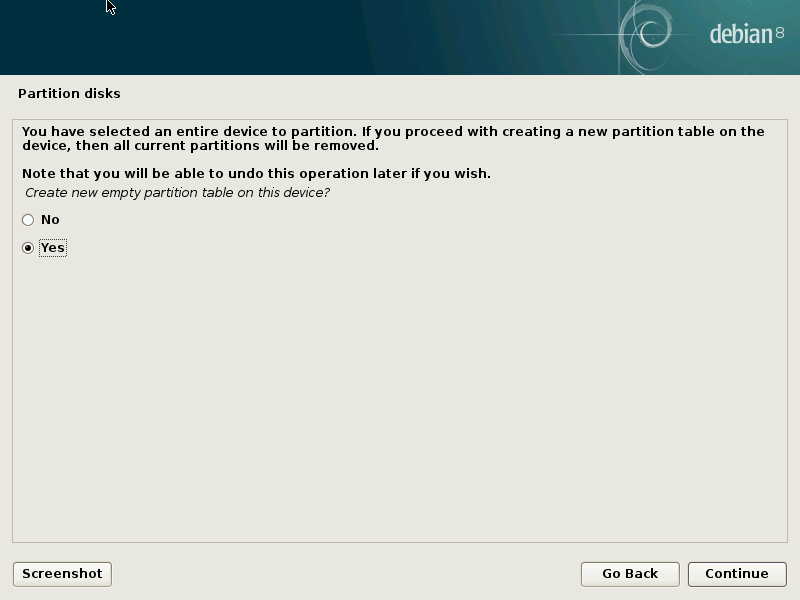
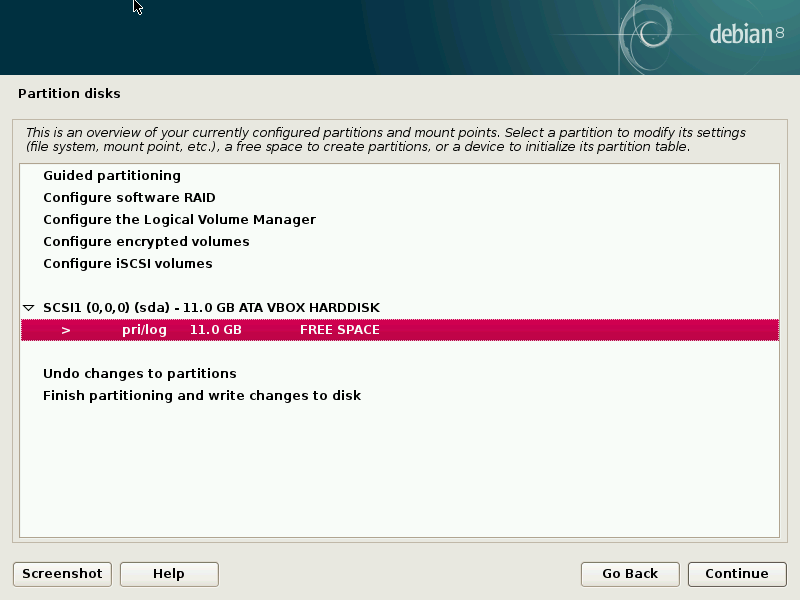
The debian installer is more complicated compared to ubiquity from ubuntu, but otherwise gets the same job done. Here’s a screen cast that shows you what to expect from the debian installer from beginning to finish, left to right.
Netinstall boot menu.
Choose language.
Choose location.
Configure keyboard.
Network auto configuration.
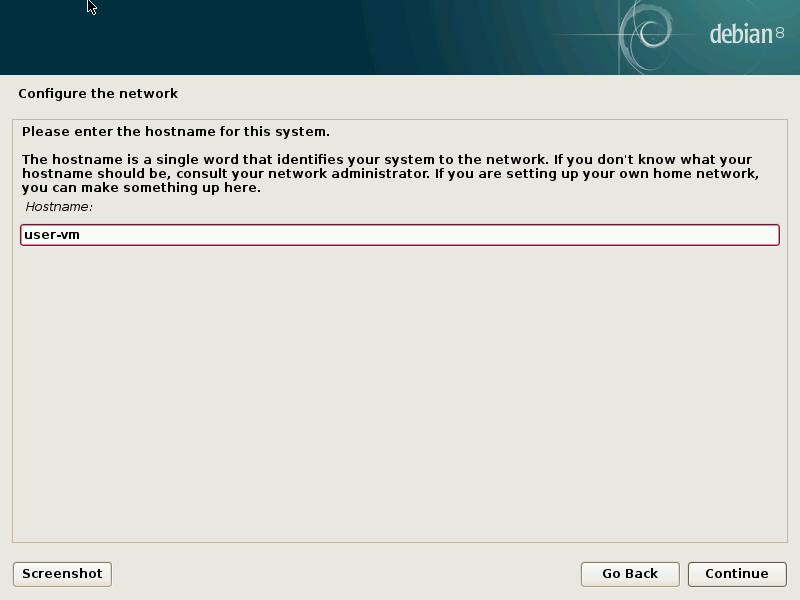
Hostname.
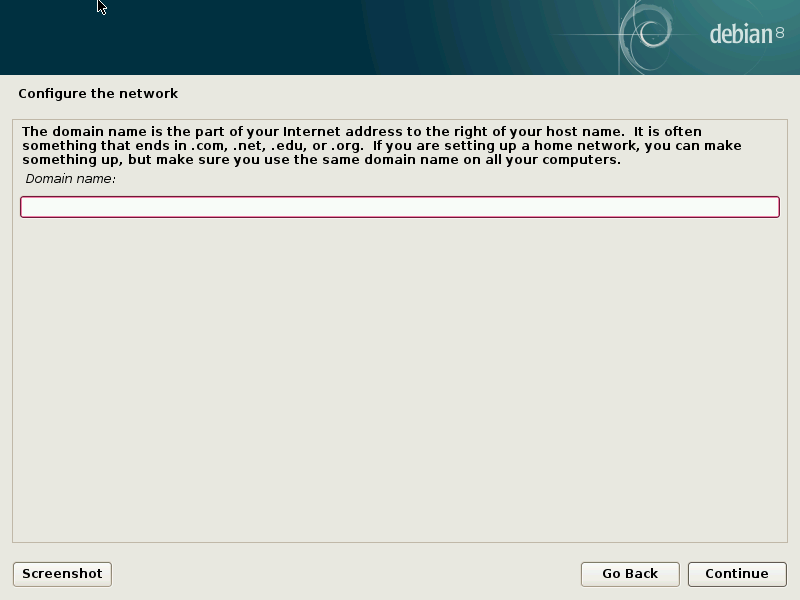
Domain.
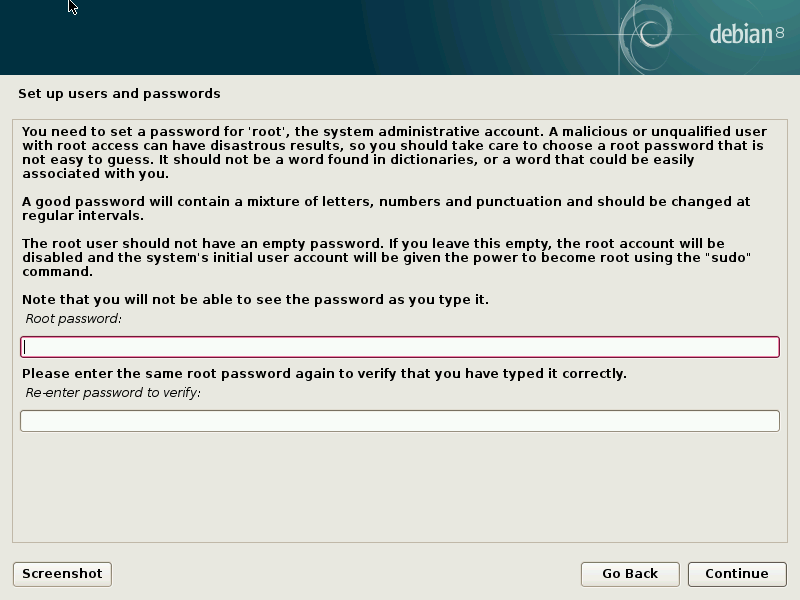
Root password.
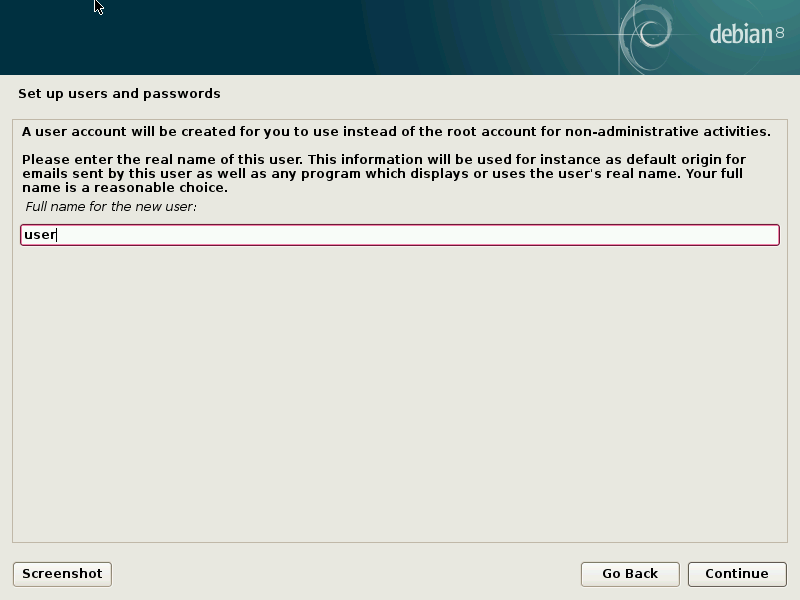
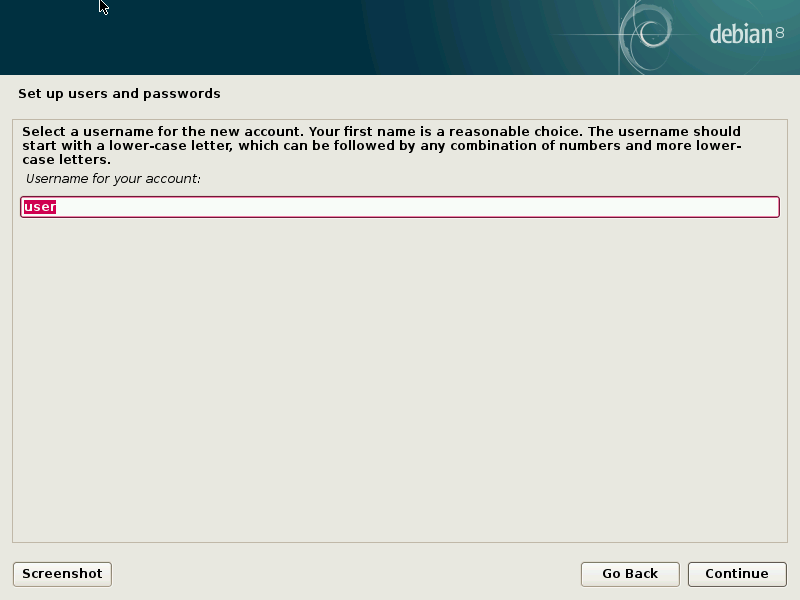
User name.
User name part two.
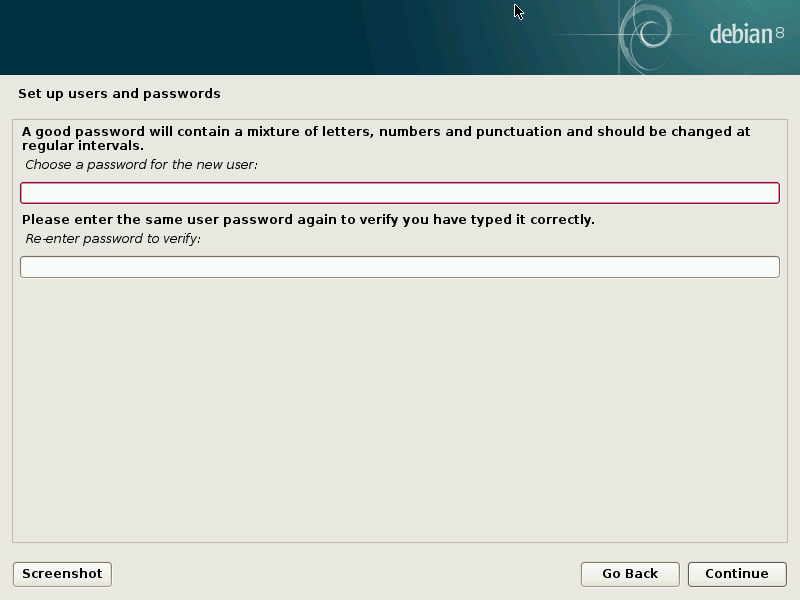
User password.
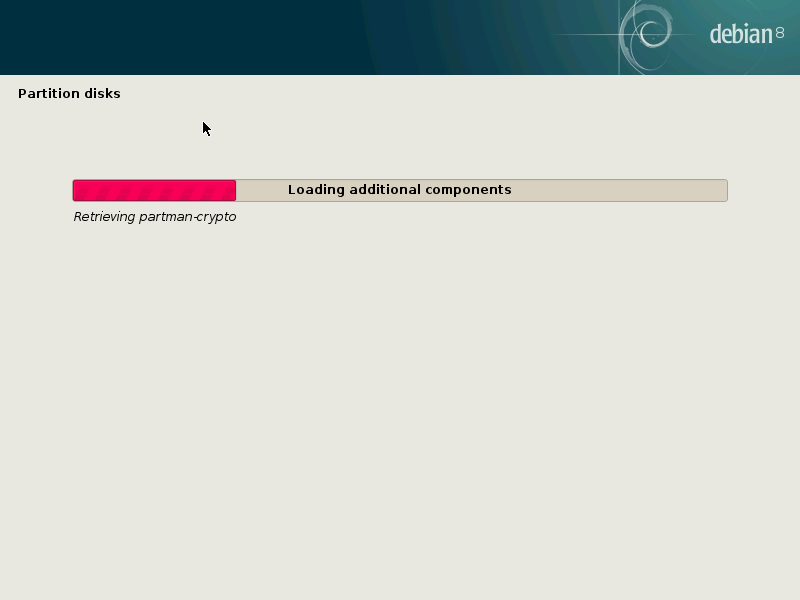
Disk partitioner auto configuration.
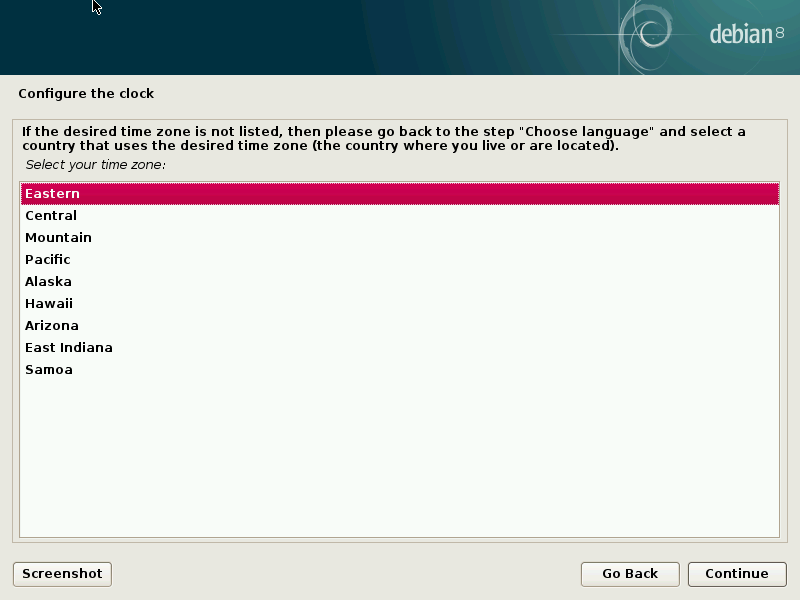
Choose time zone.
Manual disk partition option.
Selected hard disk.
Partition table creation warning.
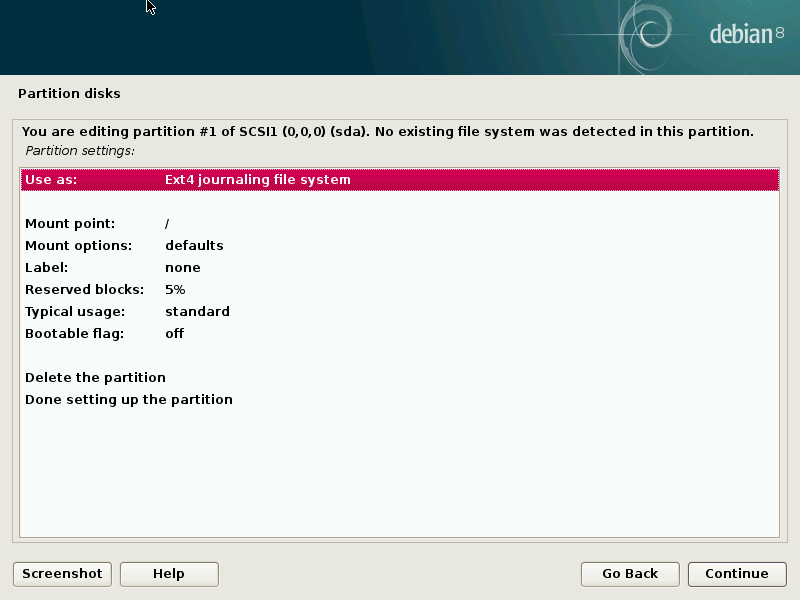
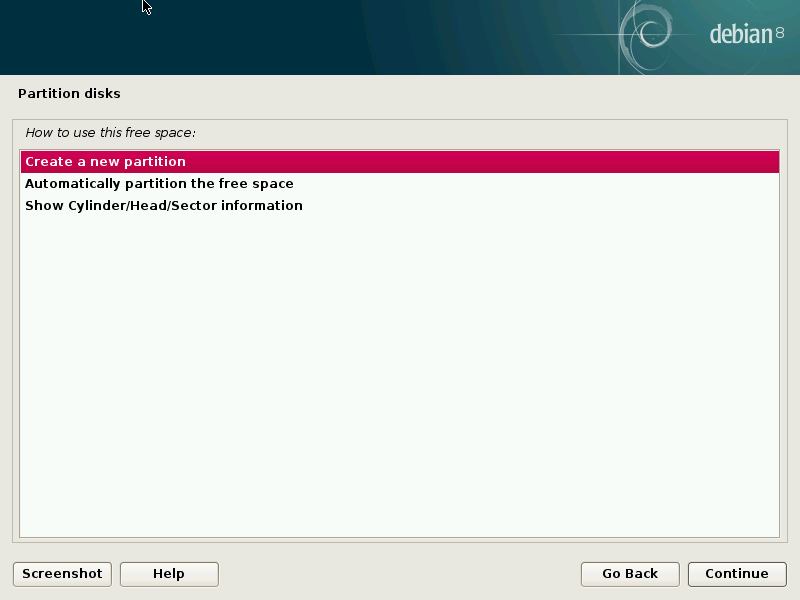
Creating a swap partition.
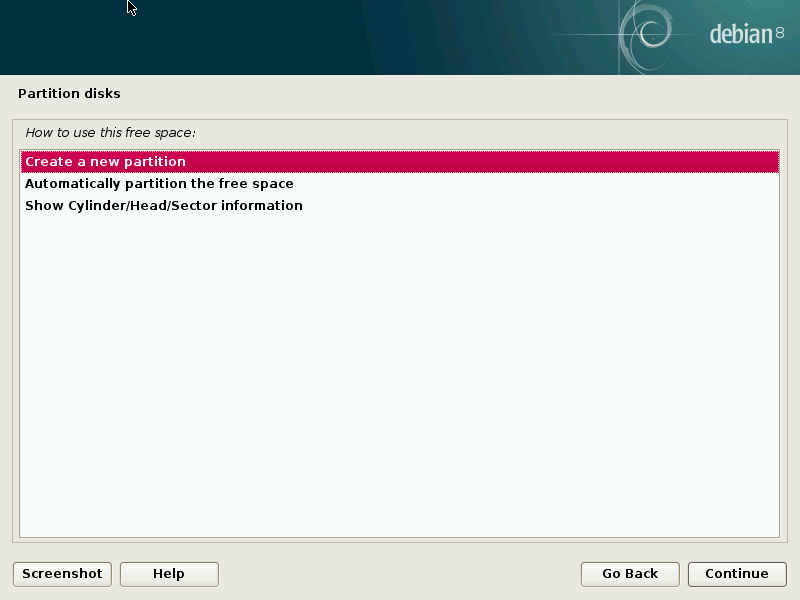
Yes we want a new partition.
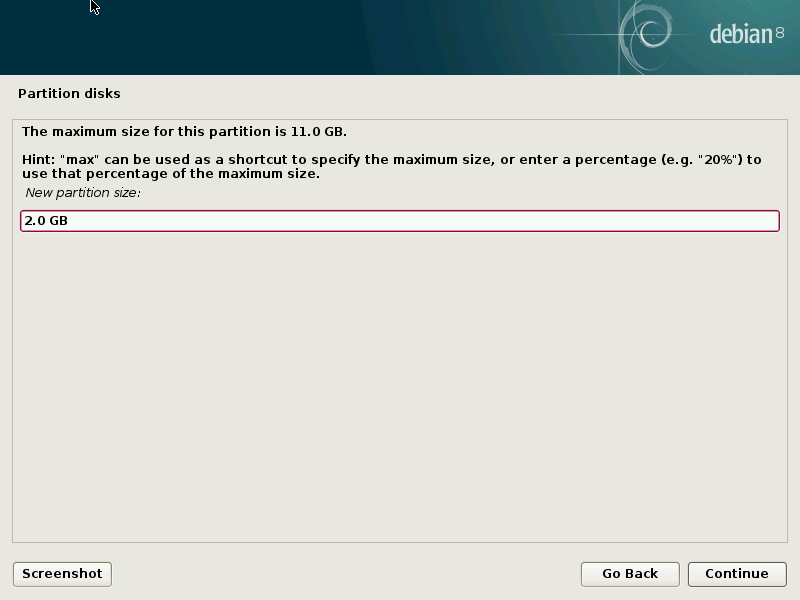
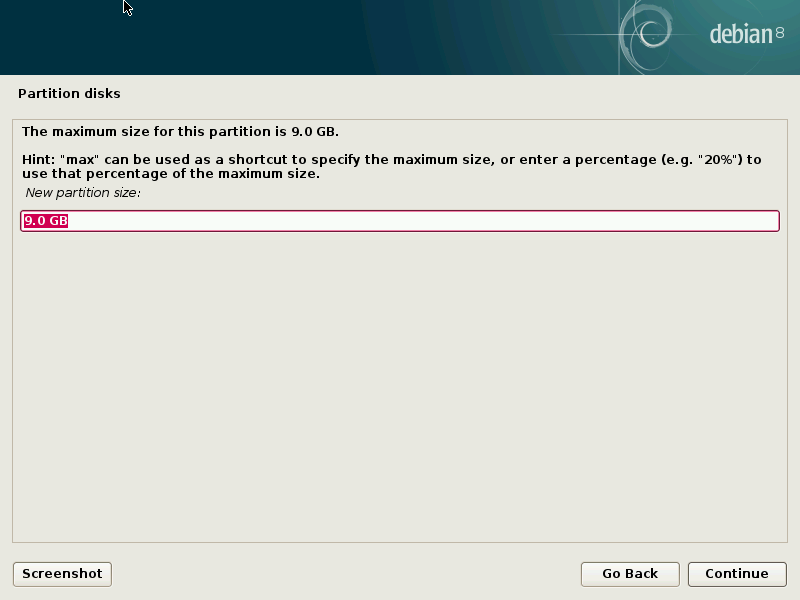
2gb is a decent size for a swap partition.
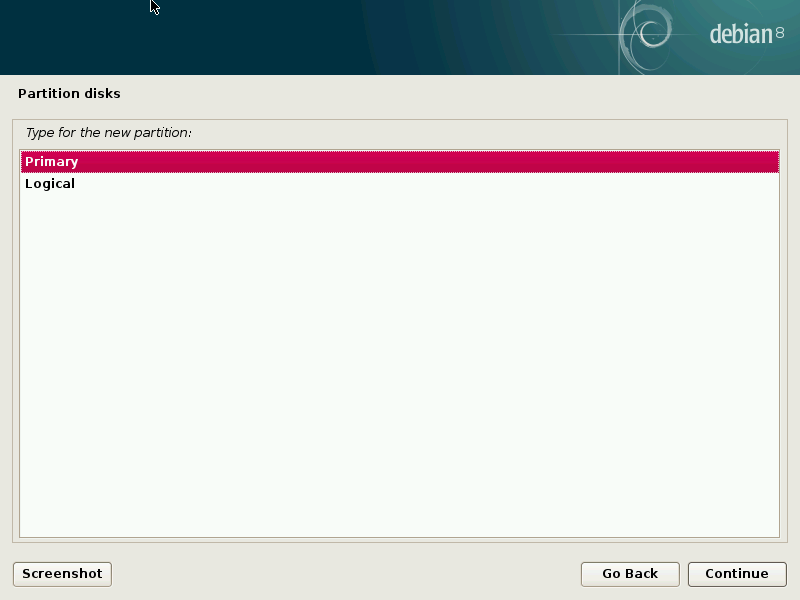
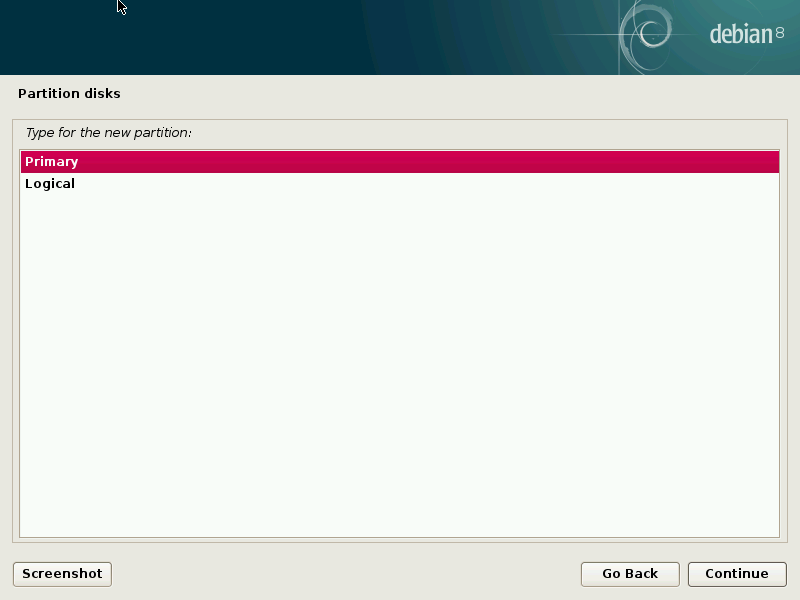
Primary partitions are easier to deal with.
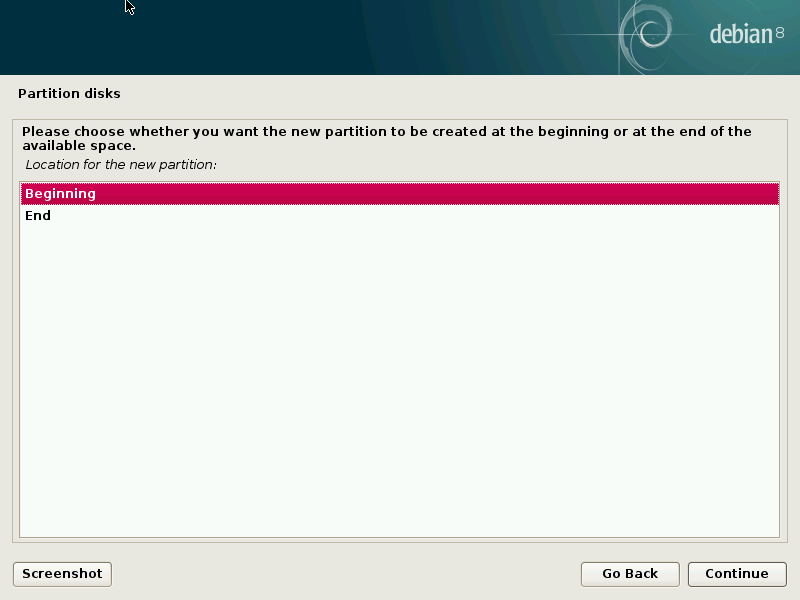
Swap will be at the beginning of the disk.
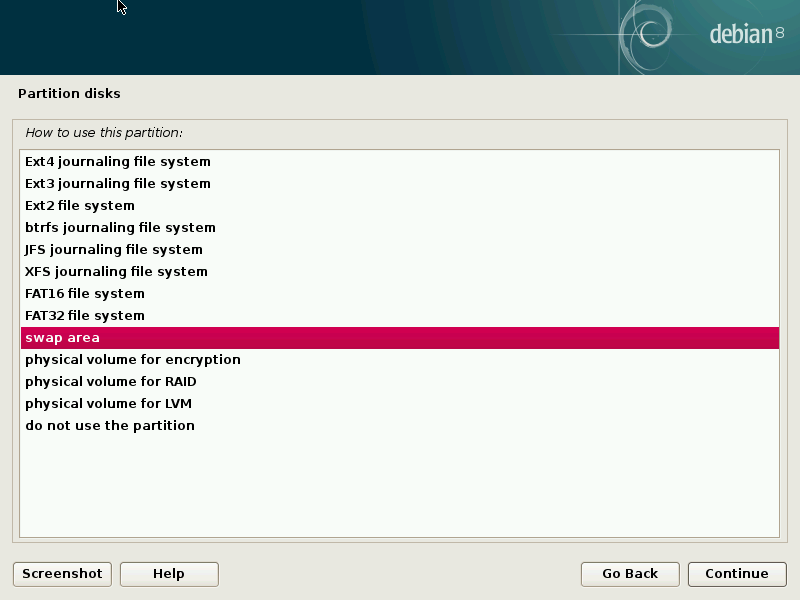
Time to make it into swap.
How you change it to swap.
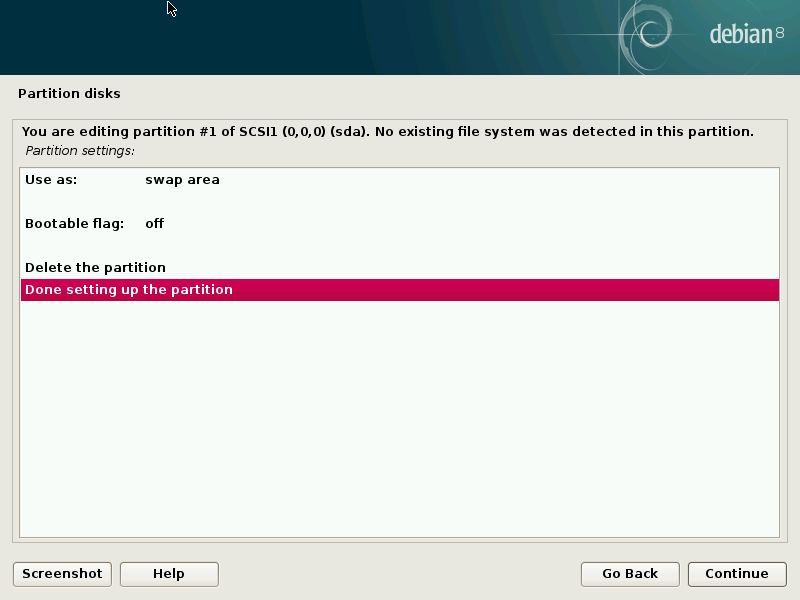
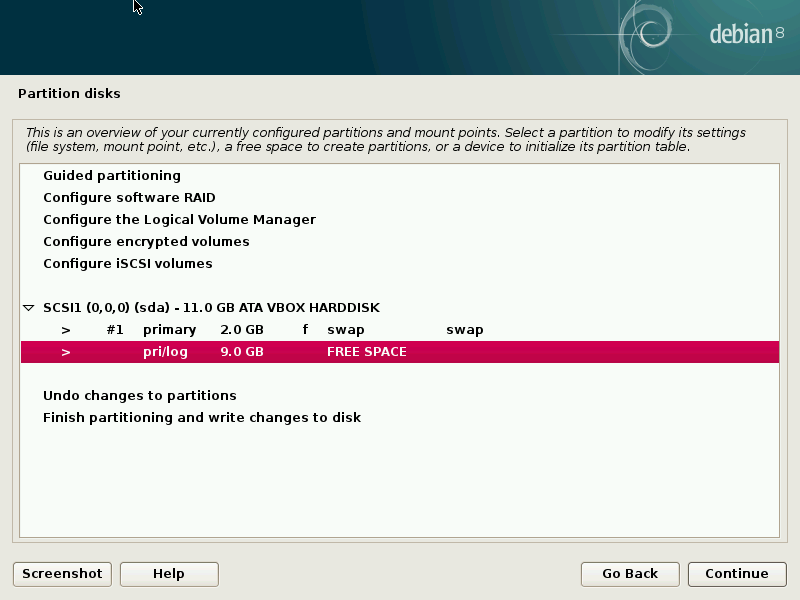
Done setting up swap partition.
Time for root partition.
Of course a new partition.
We’ll use up the rest of the space.
Just going to make another primary partition.
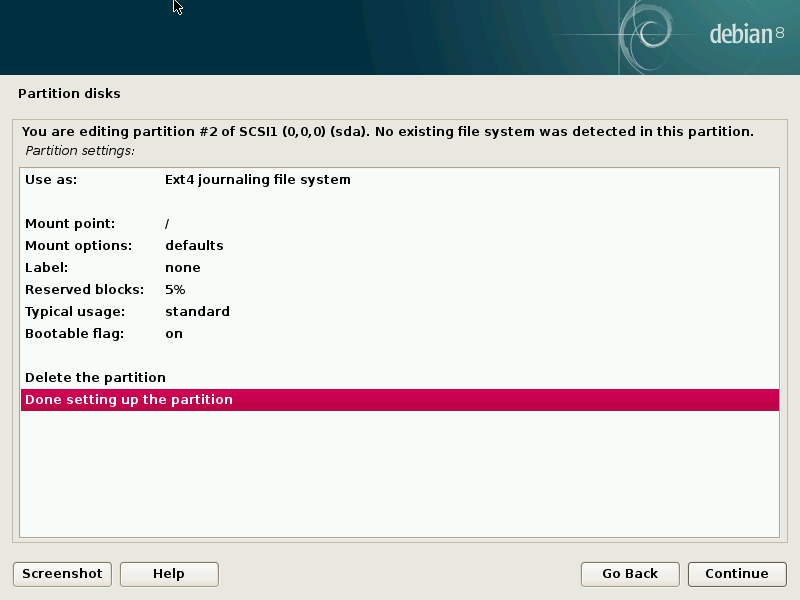
Mount point and bootable flag are very important.
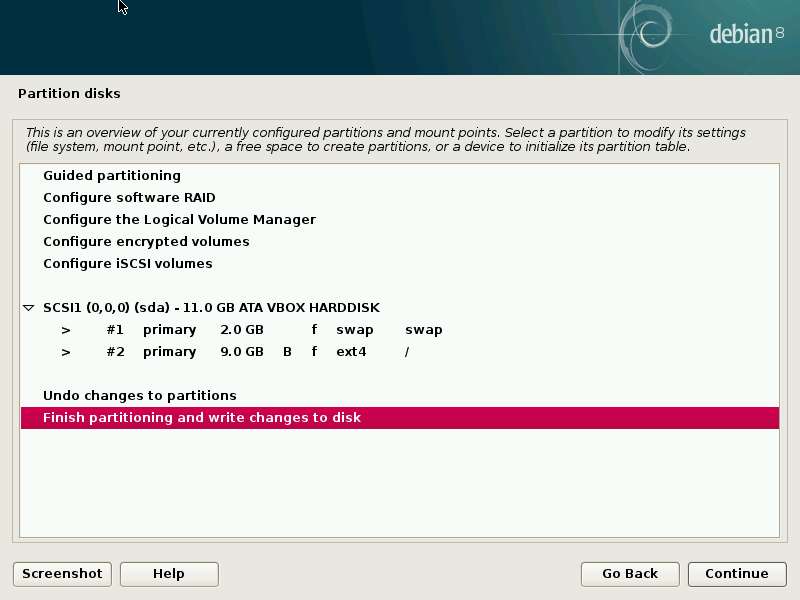
Time to finish partitioning.
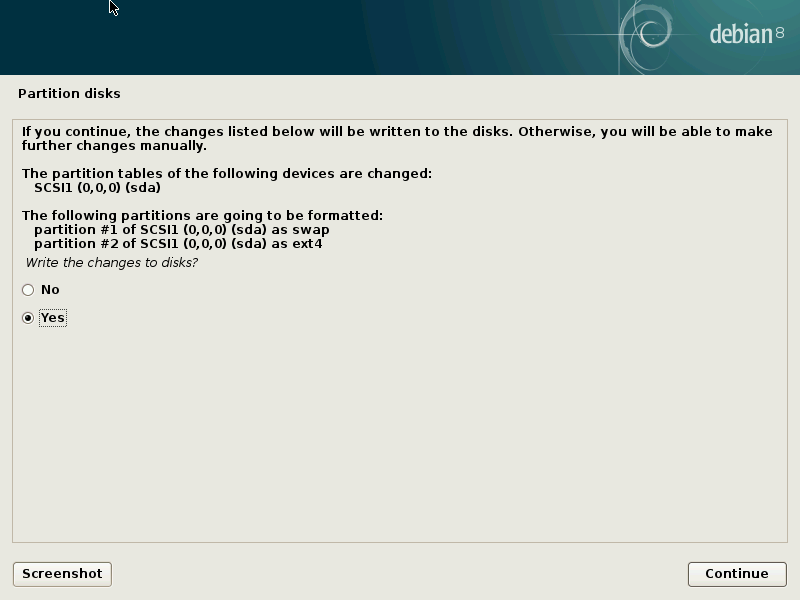
Confirming we really want to do this.
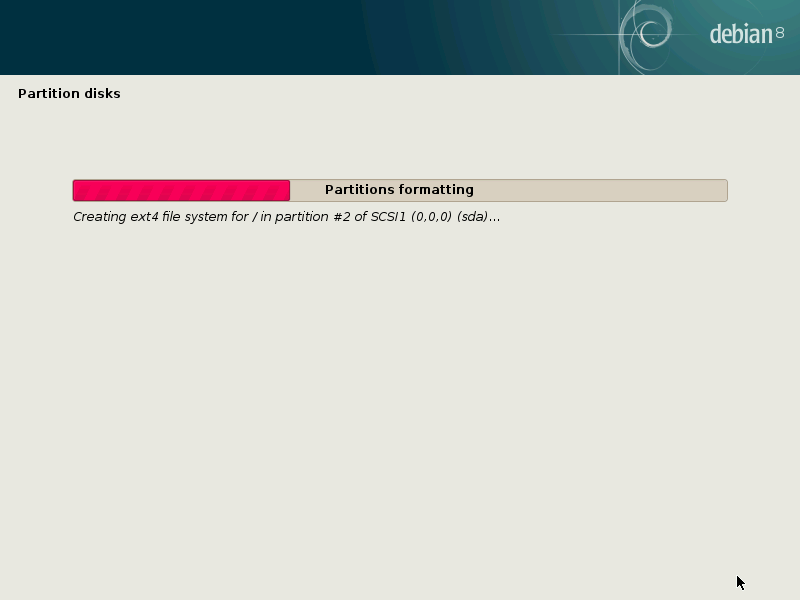
Writing and formatting your new partitions.
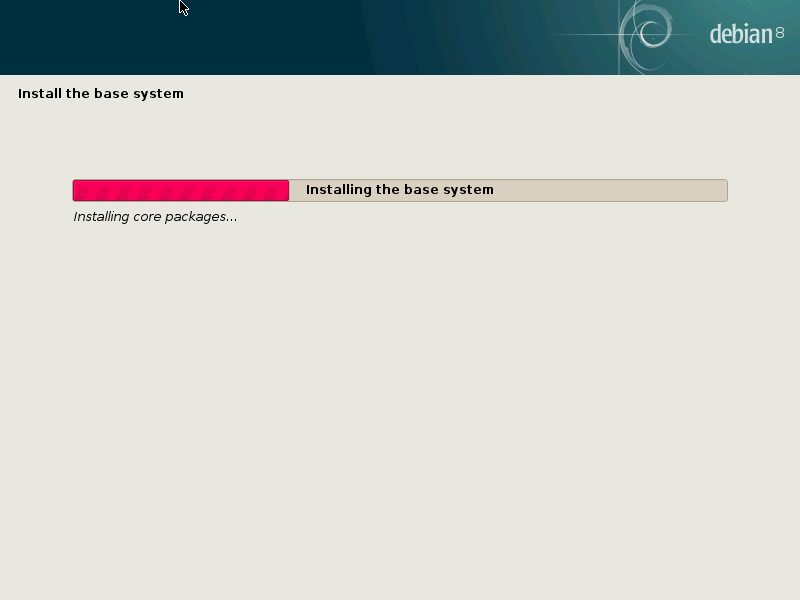
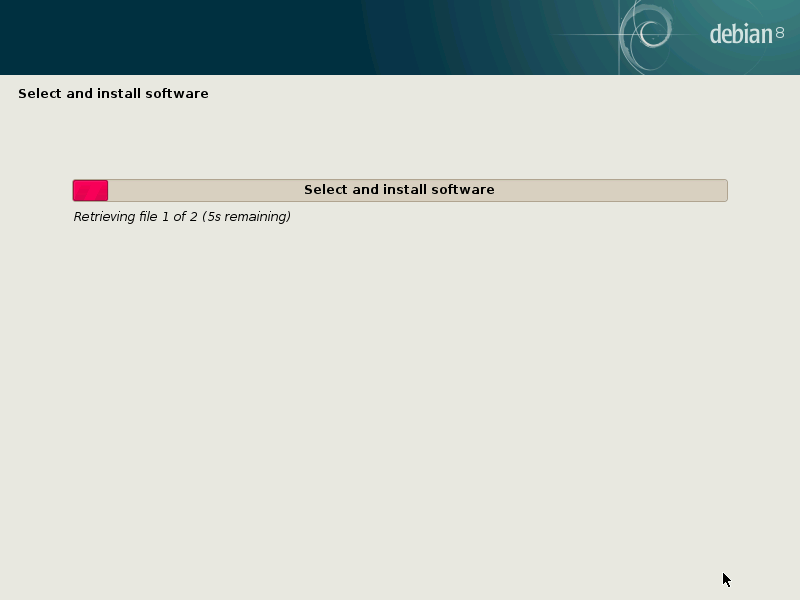
Installing base system.
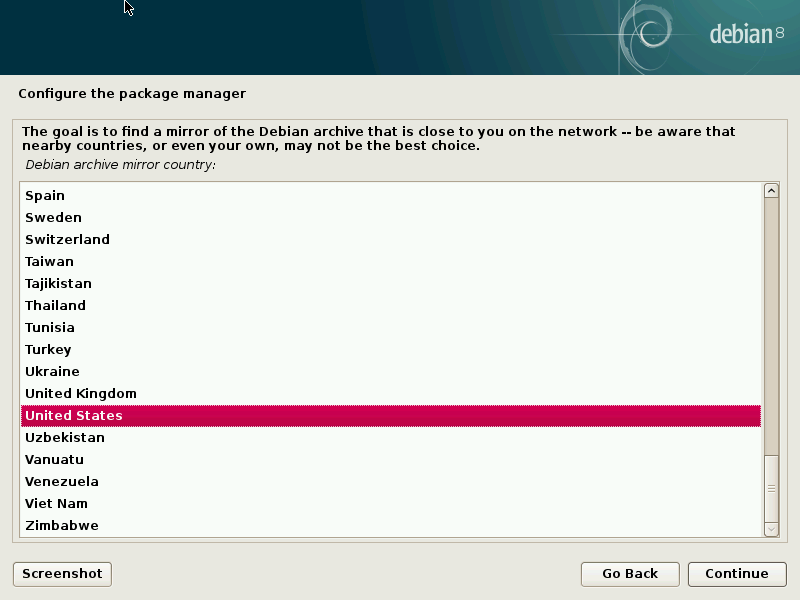
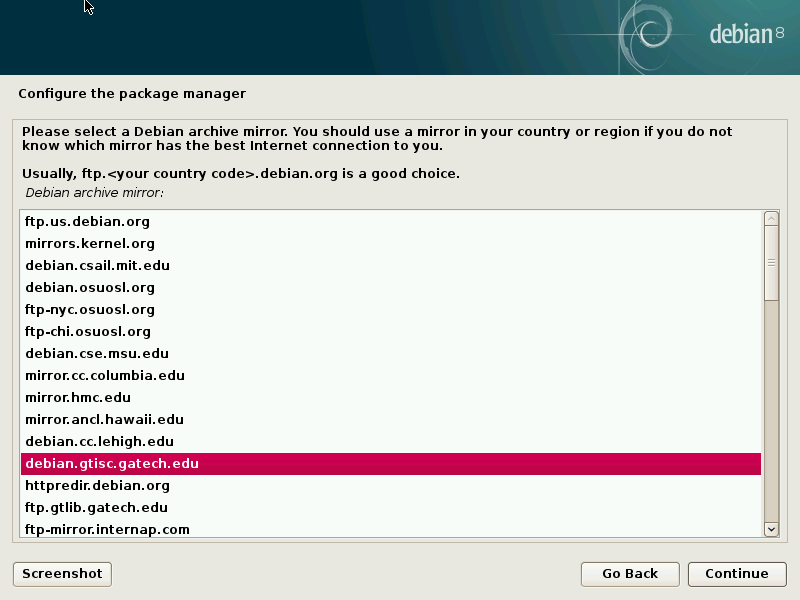
Choose your location for getting system updates.
Choose whatever you want here..
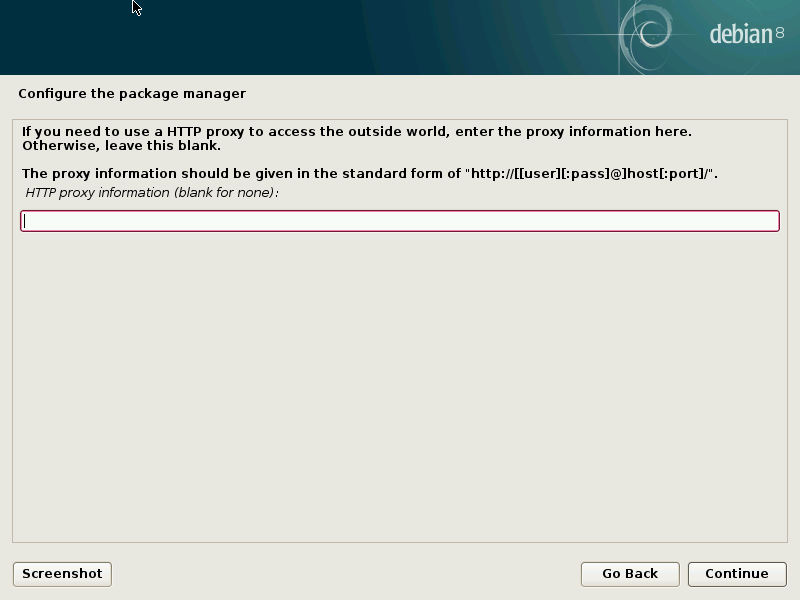
You probably don’t need a proxy.
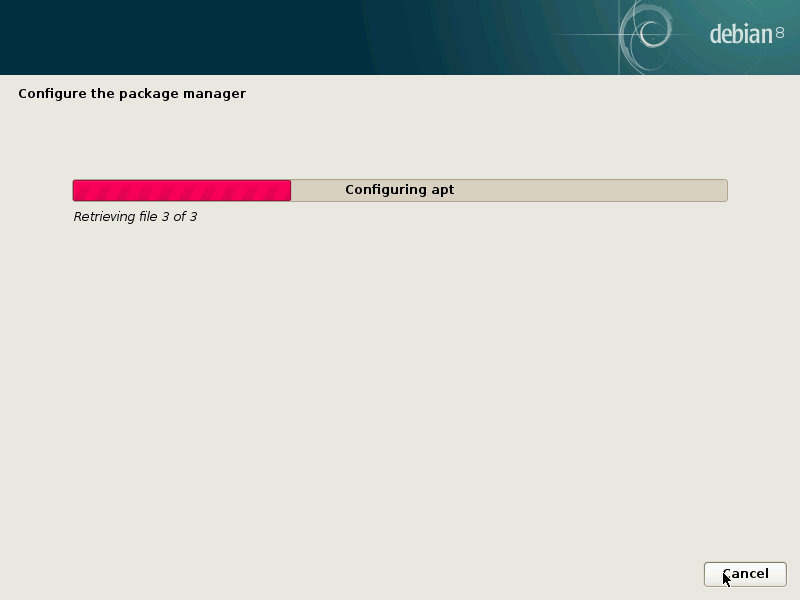
Downloading package lists.
Grabbing packages to install.
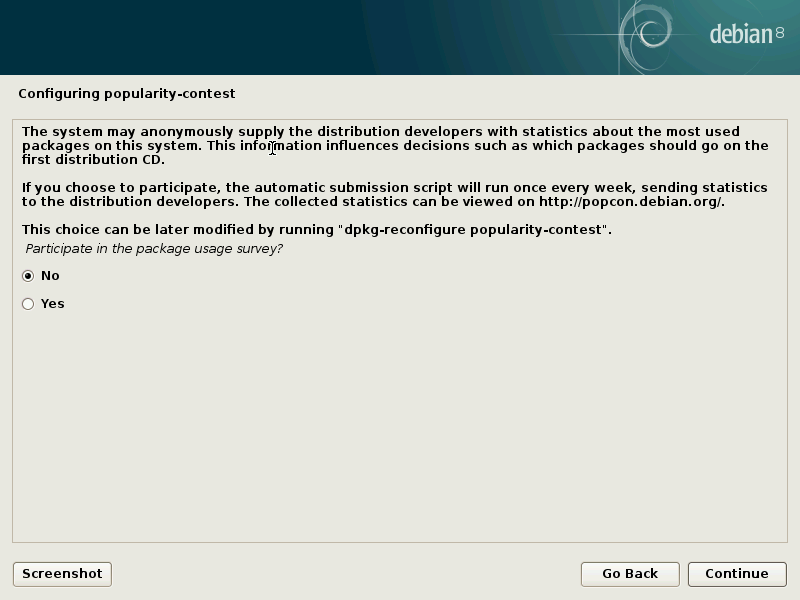
I don’t care for popularity contest.
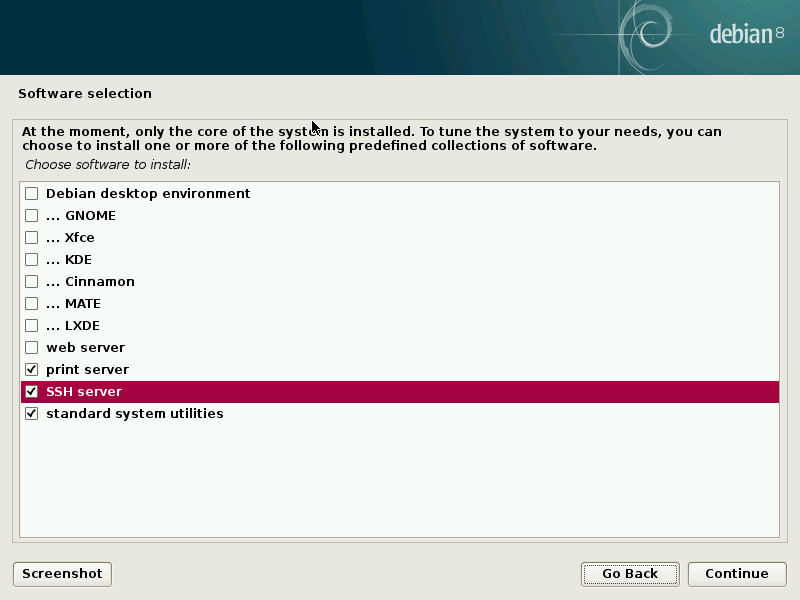
Remember, we want to get dumped to command line after the install finishes.
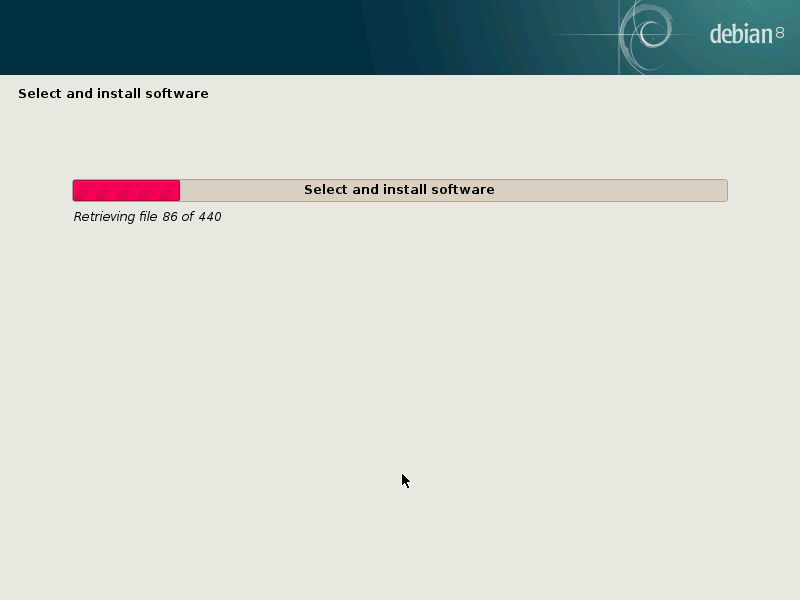
Downloading and installing
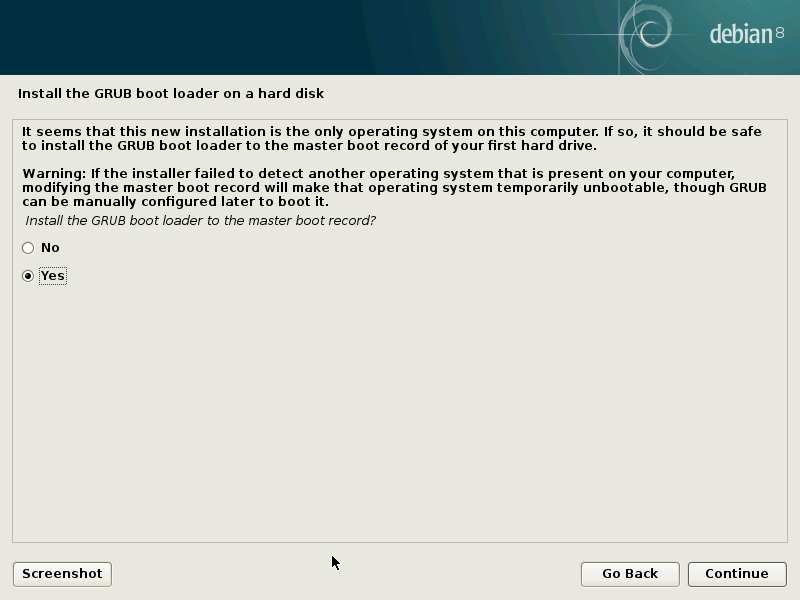
YES! Or you wont be able to boot linux.
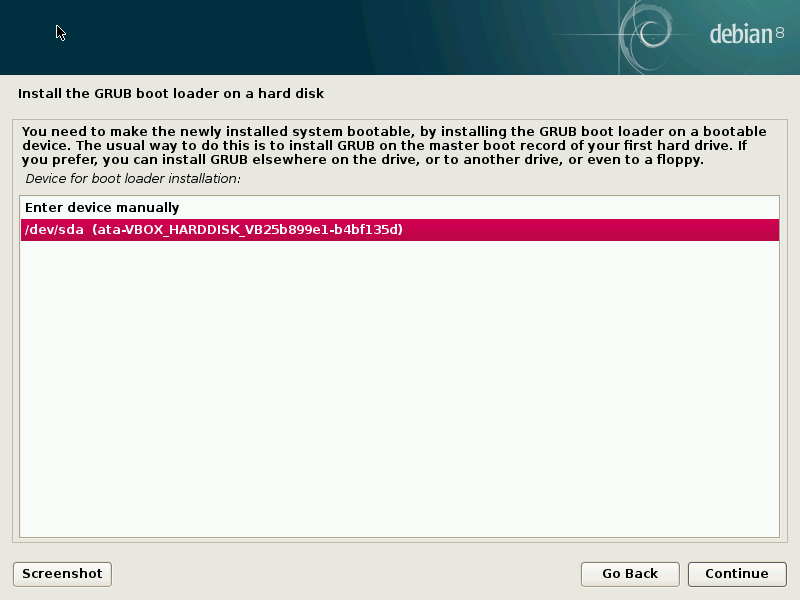
Grub famously gets installed on the first hard drive.
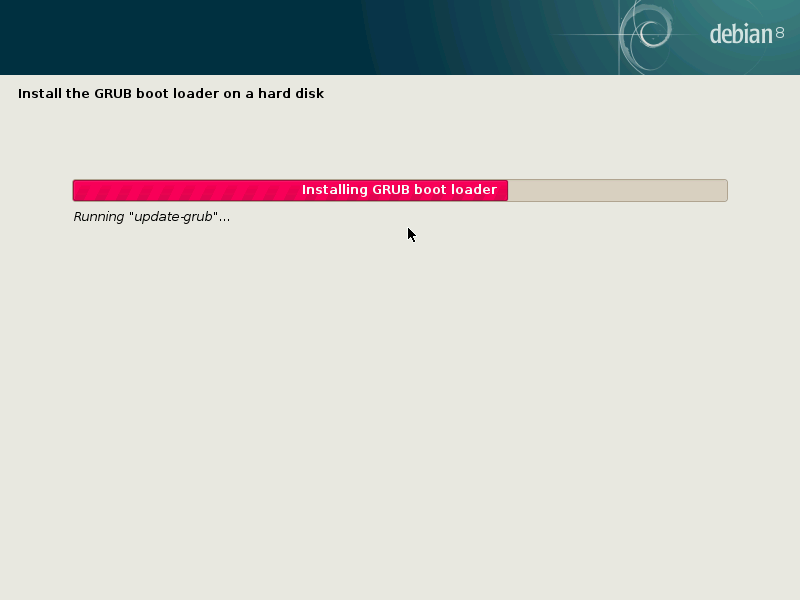
Installing and updating grub configuration.
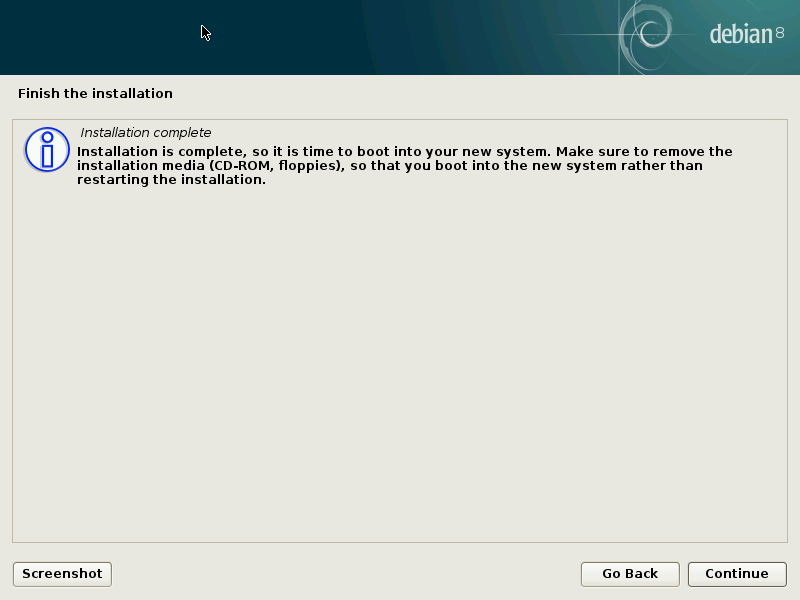
Hit continue.
5. Changing repository attributes.
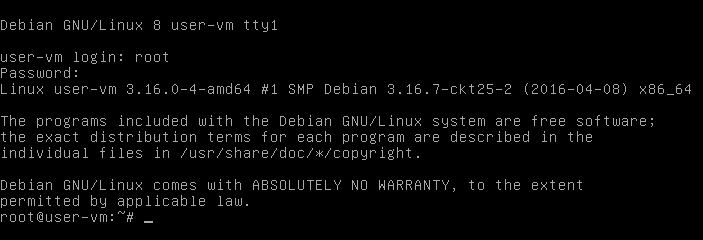
When restarted, login as root.
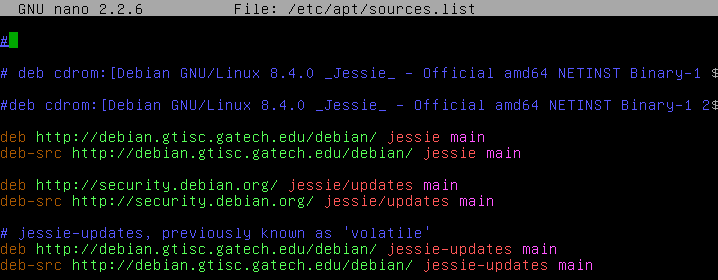
Time to modify your repositories with “nano /etc/apt/sources.list“.
Special considerations:
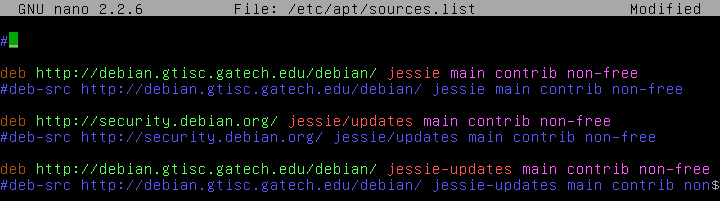
We are going to do a few things here. First I am disabling “deb-src” since I and most have no need to get source code to compile, and when I update the package listings in the future, that the source code package lists are not included for a faster package listing update. The other things I will be doing is enabling the “contrib” and “non-free” portions of all of the repositories regardless of source or binary repository (if I use the source repositories in the future this is less work; future proofing). “Main” only contains packages that conform to the debian free software guidelines. Contrib and non-free portions of all repositories are a little bit different. What they contain is third party software that is not necessarily considered part of debian, just made to work with it. In contrib and non-free you can get extra firmware and video and audio codecs (among other things); the contrib portion of the repositories tends to have dependencies in non-free (why I want to enable it all). The last thing I am going to do is get rid of any netinstall cd references since they are wasted space to me even after being commented out (especially since we are done with the install medium). So I end up with this; again, the repository mirror that you chose may differ from mine, we are at all not focused on the urls (don’t touch them). And so I have this (save changes with ctrl+x, and confirm that you want to save the file).
6. Using apt.
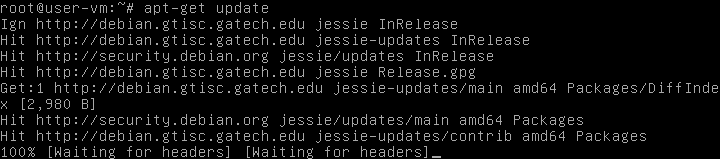
Now you need to update the system’s package listing of all the repositories with “apt-get update“, so we have access to the new repository areas we specified in sources.list by redownloading updated package lists. Anyway, you’ll see this happen. Also welcome to “apt” (advanced packaging tool, the debian package manager).
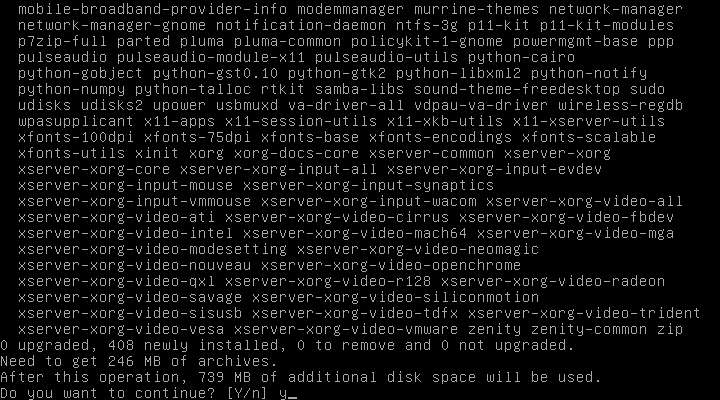
Finally, you are ready to install packages; anything you want. For this project though, we’ll stick with a few packages for turning debian into something intended for desktop use. We want “xorg” for video, “alsa-base” for audio, “network-manager-gnome” for a graphical front end to network connectivity (the other graphical front ends to network-manager aren’t as complete), “lightdm” for a graphical login and desktop manager, and “mate-desktop-environment” for a decent desktop environment. To download and install these packages you enter “apt-get install xorg alsa network-manager lightdm mate-desktop-environment“.
After entering this command, you will see a big listing of all the dependencies that go along with these packages, and the choice of yes or no whether to download and install all of this great software. Yes of course!
When everything is done being downloaded and installed, you will enter “reboot” to restart the computer
7. Done.
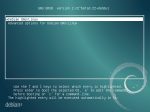
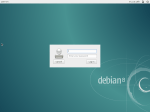
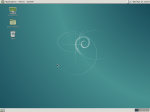
When restarted, you will see that grub has a background, you have a graphical login (don’t login as root), and when logged in provided with a desktop environment. You probably still need more programs; go get them! Otherwise consider yourself done.
Grub has a background.
You can login normally.
Mate desktop.
Why, and the need?
1. Some people want to run a linux installation that is purely debian (as in no adulteration of the product from anybody except the user and debian developers). 2. Debian dumping you at command line is the way it’s done. Whether it be the netinstall, or the contents of debian’s repositories on multiple dvds (click here to download the iso’s for that). You’re still going to be stuck at command line using apt. 3. You can build up an operating system to have it exactly the way you want. Building up takes less time than gutting something else. Also, maybe you just need a debian installation for a singular purpose like a server of some kind. In that case, install only the server components, and then you’re done building up.
Conclusion…
This really wasn’t hard at all. In fact the easiest part was entering a few apt commands. Doing all of this is fun and has it’s purpose. Or, everyone can take the easy way out with by downloading my linux distribution.
 Debian Trixie with the mate desktop still rocking harder than ubuntu.