We will be working with a tool called “live-build”.
What is it?
Live-build (formerly live-helper) is a command line tool that contains the components to build a live system from a configuration directory; it is a set of scripts to build debian live system images completely automated, and to customize all aspects of building a Live image. Live-build when installed has three commands it uses: lb clean to clean the chroot environment, lb config for specifying build options, and lb build to start the build.
A few notes before we get started:
1. Debian dropped support 32 bit support; you will only be making 64 bit images.
2. Highly recommended to use the calamares installer. The debian installer has regressive bugs that keep coming back every other debian release; the debian installer seems to only work well for netinstall images.
Getting started:
Let’s get started in your favorite terminal emulator, and work from any directory you want. I’m using mate-terminal, and starting in the home directory of my user account; /home/new.
Install live-build.
sudo apt-get update
sudo apt-get install live-build
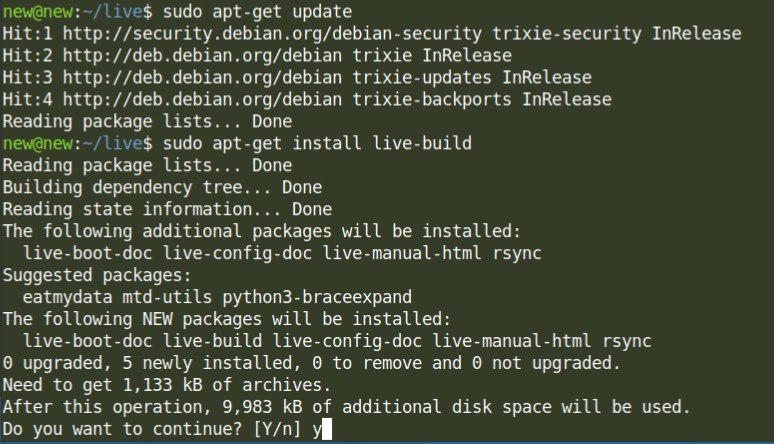
Yes, we want to install these packages.
Using live-build.
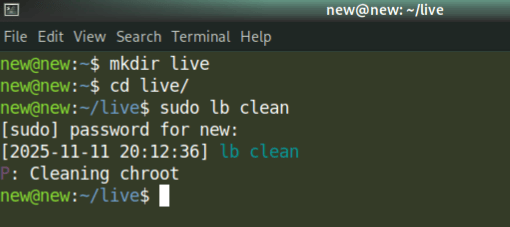
Now we make a folder for our live cd project to keep everything all nice and in one spot.
mkdir live
cd live
sudo lb clean
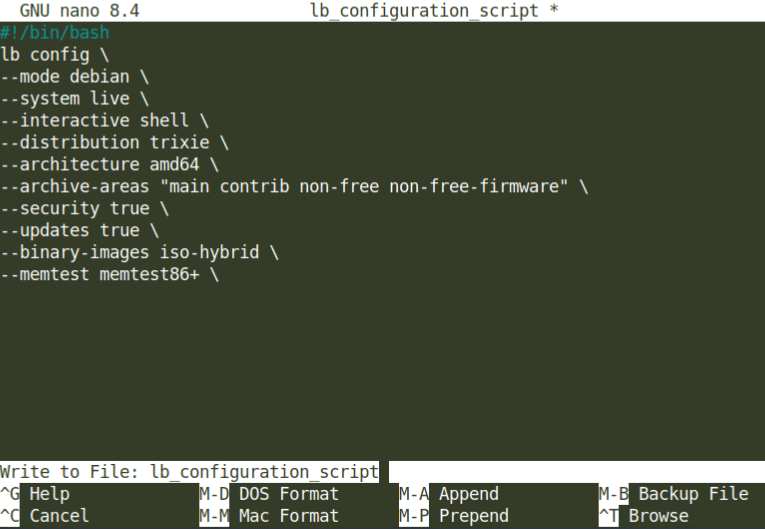
Now we make a script for lb config. Save this script with whatever name you want except “config”, or lb config will not be able to create /usr/lib/live/build/config/common (I named mine lb_configuration_script).
nano lb_configuration_script

Configuration script contents:
#!/bin/bash
lb config \
--mode debian \
--system live \
--interactive shell \
--distribution trixie \
--architecture amd64 \
--archive-areas "main contrib non-free" \
--security true \
--updates true \
--binary-images iso-hybrid \
--memtest memtest86+ \
Special considerations:
The odd configuration we have going on here is –interactive shell. As part of the build process, you’ll be dumped to a chroot environment to configure your new distribution. You’ll want this so you can install packages and make other configurations to the system before it gets squashed down to an iso image. This configuration works around a few bugs present in live-build mentioned a little further below.
Normally we would specify –debian-installer live, but the debian installer doesn’t work very well. If you need the debian installer, then include this configuration. Otherwise, it’s recommended to use the calamares installer to save yourself a lot of pain.
Through much troubleshooting of other lb config options found in it’s manual, I have discovered that other options such as –checksums and –grub-splash don’t work. Mentioned above, this is why we’re using –interactive shell to work around some of the options that don’t work.
To work around –grub-splash:
1. Have an image you want to use as a splash screen for the bootloader. It must be in 640×480 resolution, and named splash.png
2. Go to /usr/share/live/build/bootloaders, on the system your building the iso (not inside the live-build chroot build environment).
3. Delete splash.svg and replace with splash.png
4. Add splash.png to syslinux_common folder.
5. Add splash.png to grub-pc folder.
6. Convert splash.png to splash.xpm. Then compress it with gzip so you have splash.xpm.gz, and replace the file of the same name in the grub-legacy folder.
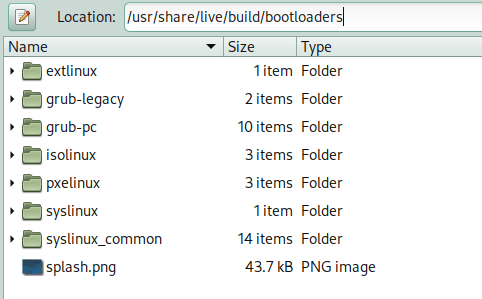
That’s how you set you’re own splash image for the bootloader of the images you’re making.
To work around –checksums:
To create checksum files, use md5sum to generate an md5 checksum after you’ve created your images.
Launching configuration script:
lb_configuration_script needs to become executable.
chmod 700 lb_configuration_scriptls

Then we execute.
./lb_configuration_script
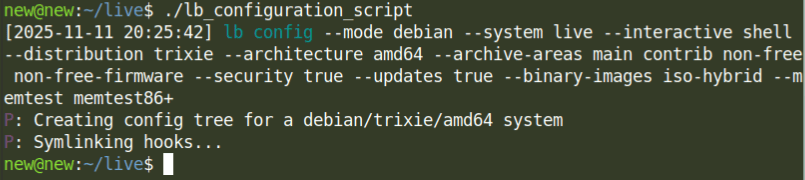
Let’s build:
sudo lb build
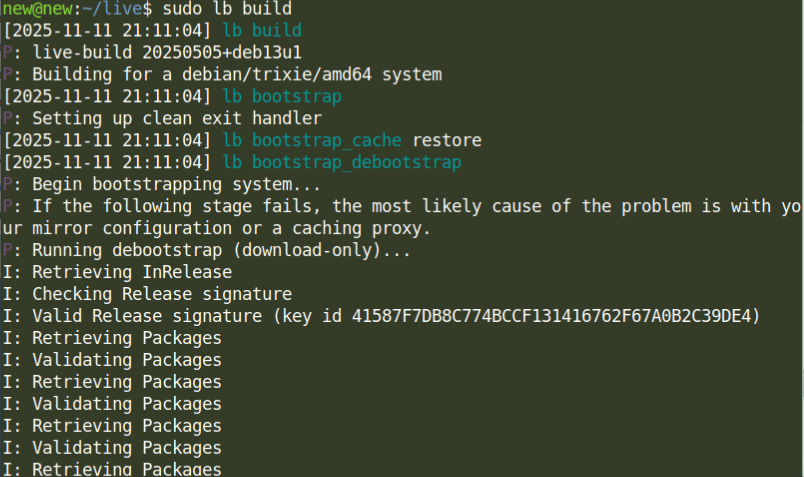
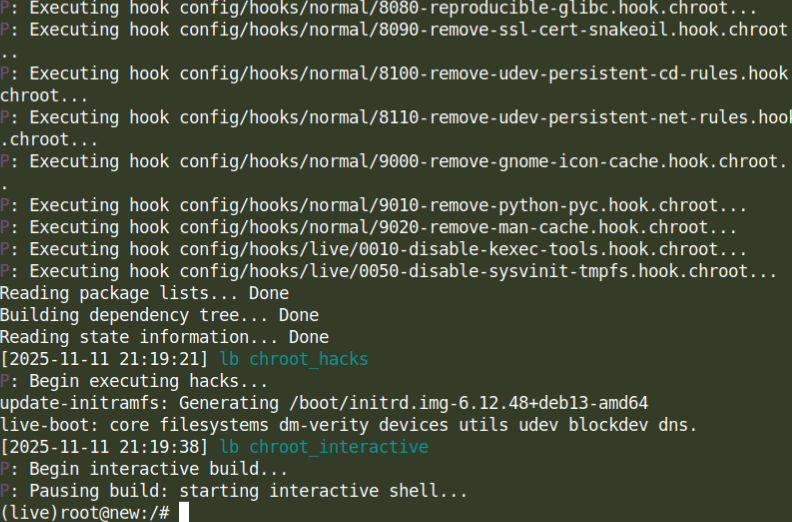
Don’t forget that we specified --interactive shell in the script we executed. Entering lb build will start the build process downloading whatever it needs and putting things together, eventually dumping you to a chroot environment for more configuration. Here’s what that looks like.
Install packages:
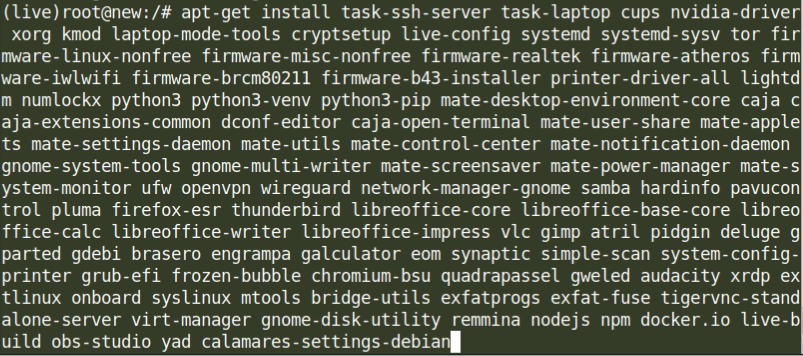
We’re going to install packages now. I am just going to use the package list from my distribution for this.
apt-get install task-ssh-server task-laptop cups nvidia-driver xorg kmod laptop-mode-tools cryptsetup live-config systemd systemd-sysv tor firmware-linux-nonfree firmware-misc-nonfree firmware-realtek firmware-atheros firmware-iwlwifi firmware-brcm80211 firmware-b43-installer printer-driver-all lightdm numlockx python3 python3-venv python3-pip mate-desktop-environment-core caja caja-extensions-common dconf-editor caja-open-terminal mate-user-share mate-applets mate-settings-daemon mate-utils mate-control-center mate-notification-daemon gnome-system-tools gnome-multi-writer mate-screensaver mate-power-manager mate-system-monitor ufw openvpn wireguard network-manager-gnome samba hardinfo pavucontrol pluma firefox-esr thunderbird libreoffice-core libreoffice-base-core libreoffice-calc libreoffice-writer libreoffice-impress vlc gimp atril pidgin deluge gparted gdebi brasero engrampa galculator eom synaptic simple-scan system-config-printer grub-efi frozen-bubble chromium-bsu quadrapassel gweled audacity xrdp extlinux onboard syslinux mtools bridge-utils exfatprogs exfat-fuse tigervnc-standalone-server virt-manager gnome-disk-utility remmina nodejs npm docker.io live-build obs-studio yad calamares-settings-debian
Special consideration:
There are two packages for bootloaders in the debian repositories, grub-pc and grub-efi; you can’t install both.
1. If you want to prepare an image with efi support, install the grub-efi package. The install command above features this package, I’m making an efi bootable image.
2. If you want a classic boot image, install the grub-pc package.
It’s not worth finding out if –bootloader option for lb config even works.
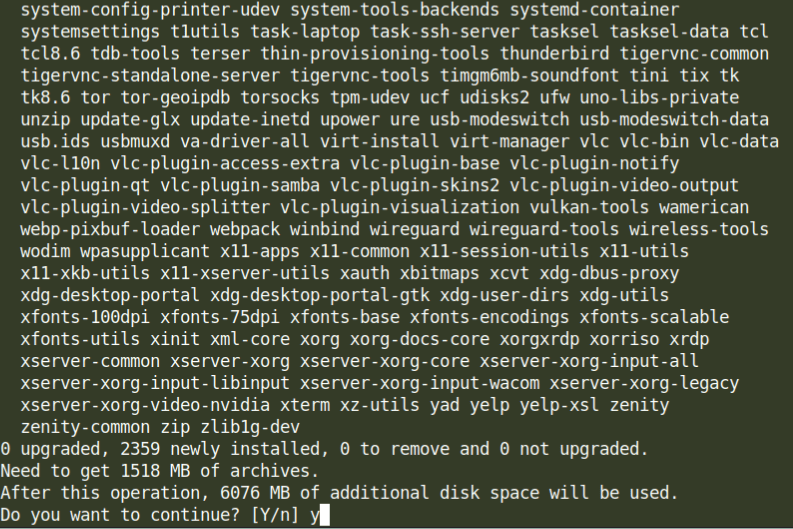
Yes we want to install these packages.
Other configurations:
Once all packages you wanted are installed, we can finish the build right here. But, you probably don’t want to just yet. I recommend five things.
First is inside /etc/Network-manager/Network-manager.conf and changing the managed=false to true. Then network-manager can manage the network interfaces.
The second is highly recommend configuring the default user parameters of the build. What I do for this is create a new user on my system, and just configure as desired; screensaver, power settings, program specifications, theme, etc. Then I harvest the contents of the new user home directory (hidden folders and all; please no personal documents) and copy them all into /live/chroot/etc/skel. The way that you see your desktop, has now been specified in the build for every future user.
The third is configuring the firewall. I’m using ufw (uncomplicated firewall). I run three commands to configure it.
1. ufw default allow outgoing
2. ufw default disable incoming
3. ufw enable
The fourth is installing packages that are not found inside the debian repositories should you need to do so. As hinted upon earlier; we can copy documents to the chroot environment. Once these extra packages are installed, please get rid of the package files as they will show up inside the file structure of your finished product.
The fifth is you can keep configuring other things if you need; such as rebranding (I don’t care about that here, so I am not focusing on that). However, if you are happy with the way things are, then continue on to the next step.
Finish build:
exit
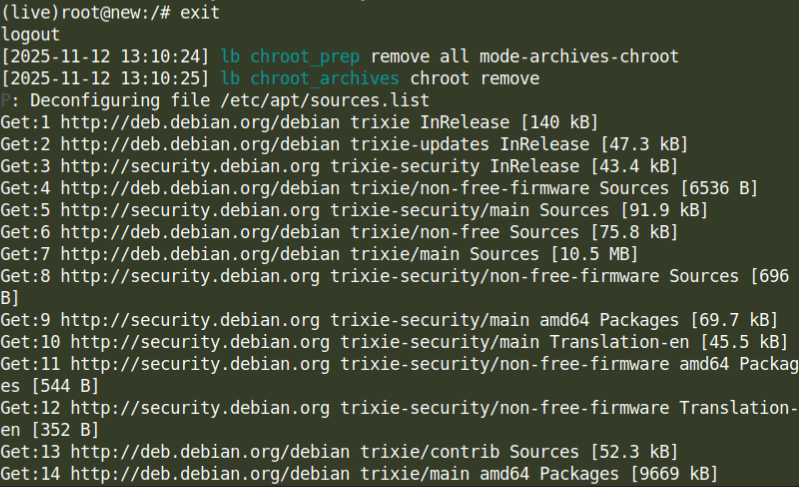
With this, you will exit the chroot environment and lb build will finish it’s job by downloading whatever extra it needs and eventually squashing your build into an iso image file.
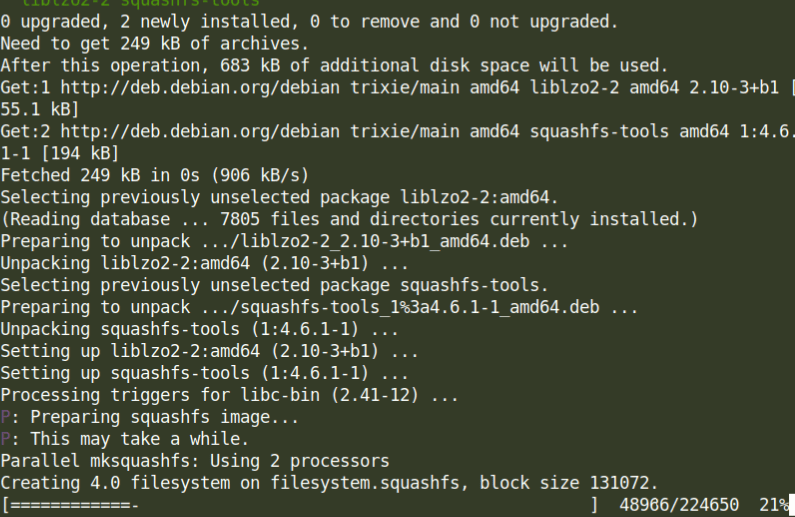
Squashing the build can take 30 minutes to an hour.
Take a look:
ls
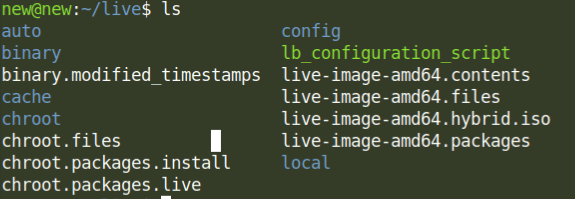
When lb build has officially finished, here is the result.
Name your iso, create md5 checksum file, and double check md5 checksum:
mv live-image-amd64.hybrid.iso mybuild.isomd5sum mybuild.iso > mybuild.md5md5sum -c mybuild.md5ls
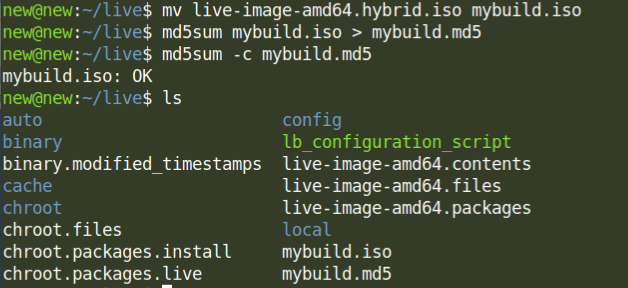
We have renamed the iso image file, created an md5 checksum file, and have compared the md5 checksum against the iso image (which it passed).
Testing the build
Burn to dvd, make a bootable flash drive, or test it out in a virtual machine. I used virtual machine manager to create environments to build and test in.
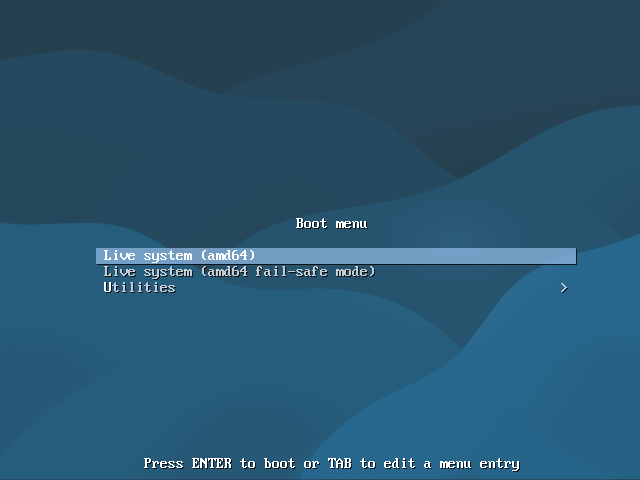

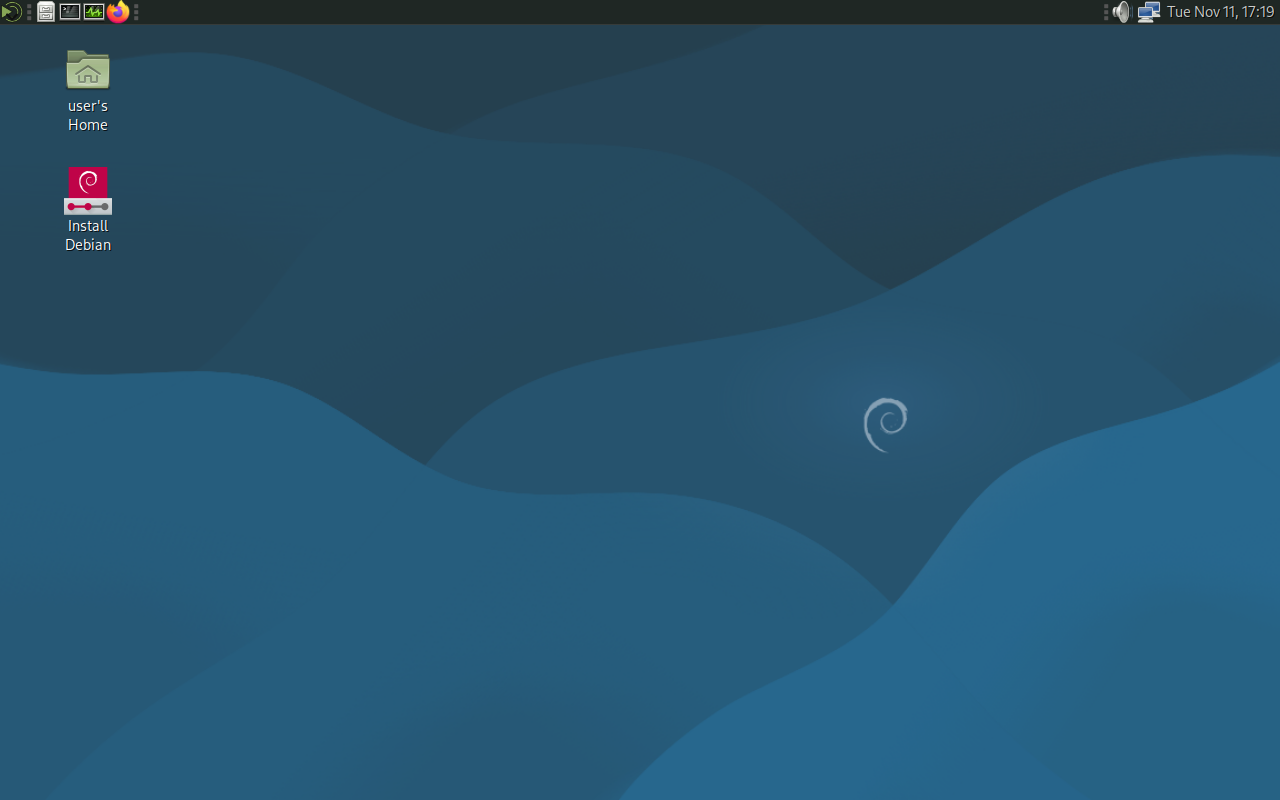
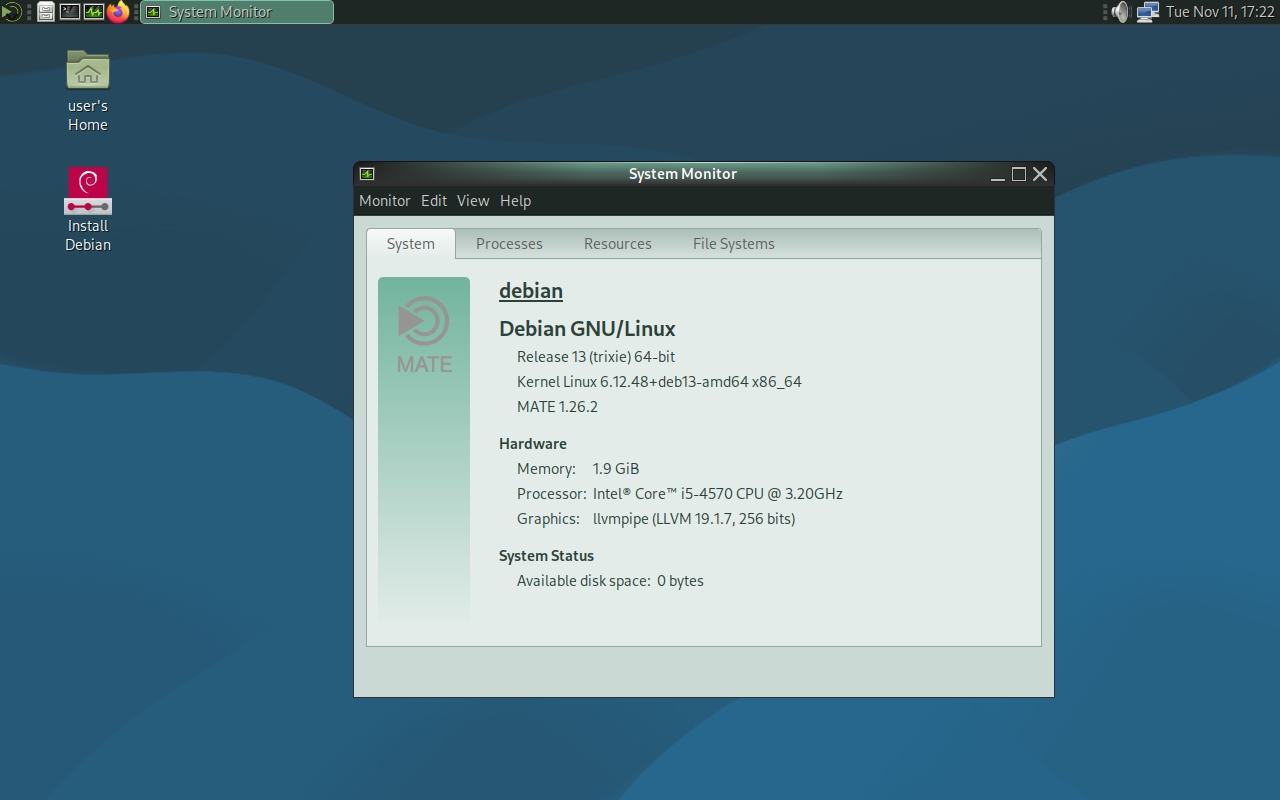
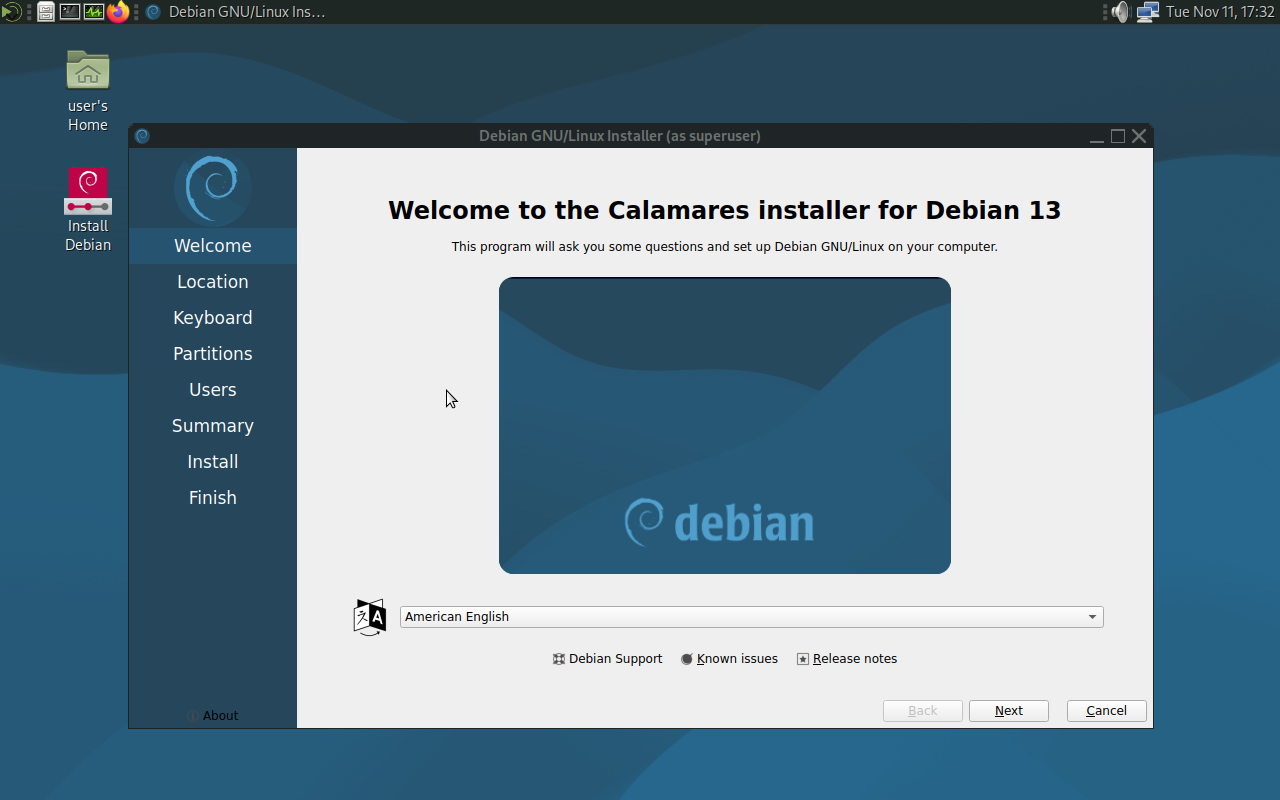
It works!
If your custom build works, then good on you! You have created your own customized live cd that can be installed offline. I recommend to keep messing around with live-build with extra focus on the chroot build environment.
Conclusion:
Building images takes lots of work and dedication. Lots of testing needs to be done after an iso was built. Double checking if the installer works, if any program in the distro has bugs, if mouse and keyboard work as advertised, etc. The nature of building images is one must consider that there’s new bugs and other changes introduced each time a new version of debian gets released. You will be able to make installable images, but will they install a linux without problems? Test your images, test the software that goes into them, and then release a distribution.

